
Last updated November 4, 2026
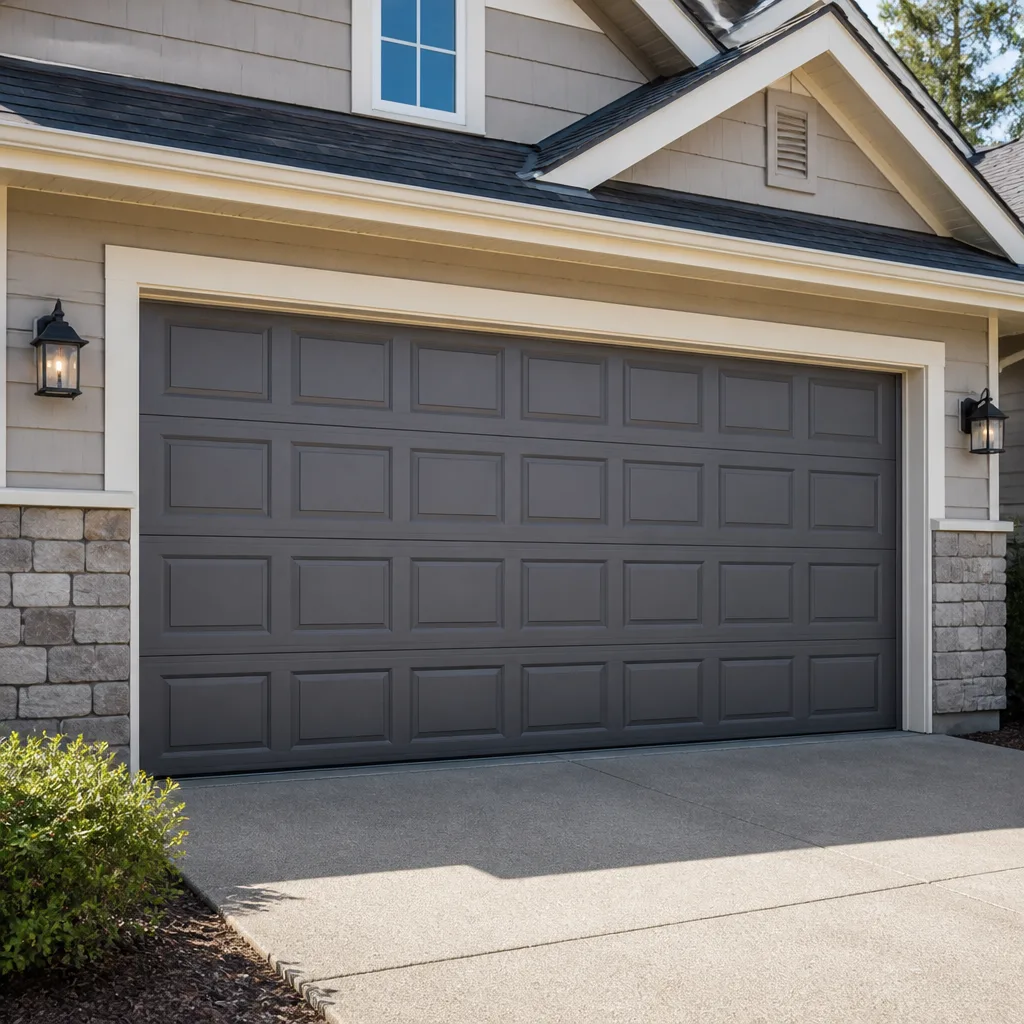 Raised-panel steel
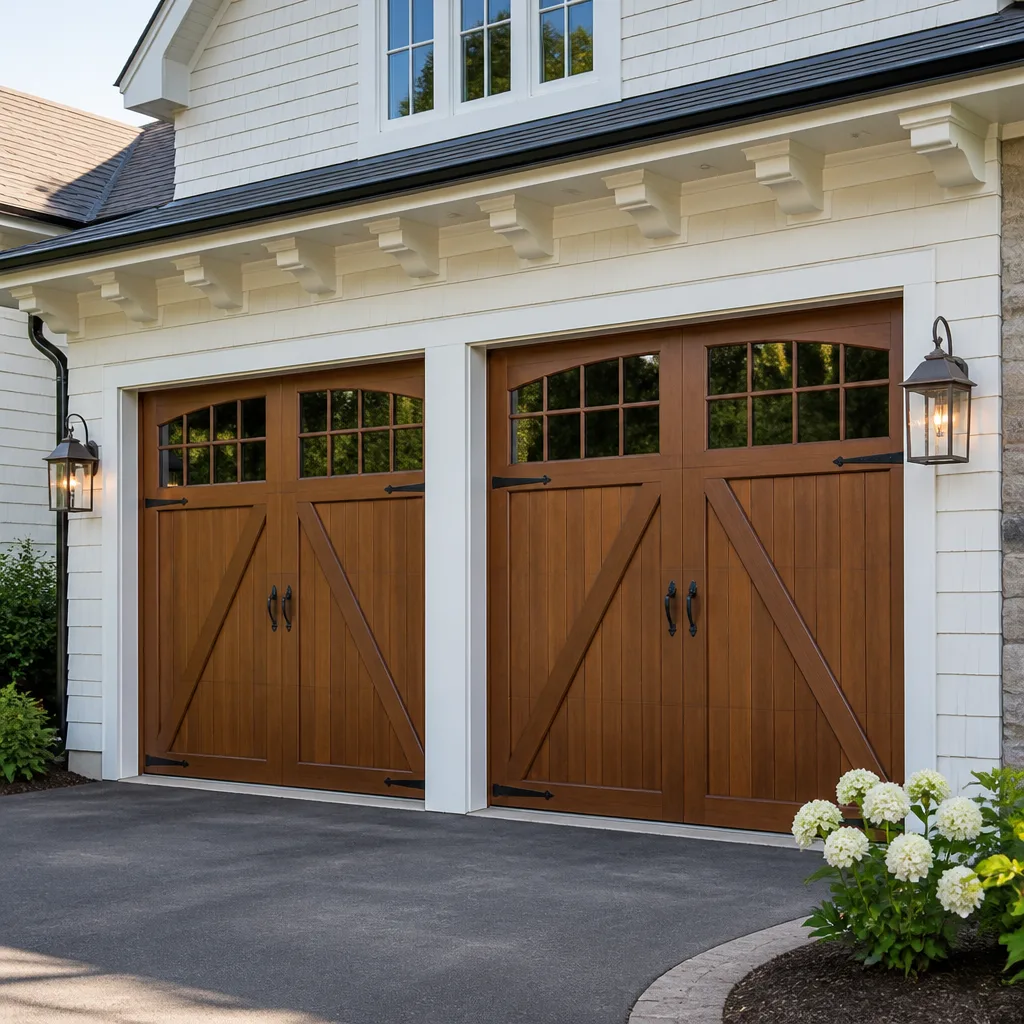 Carriage house
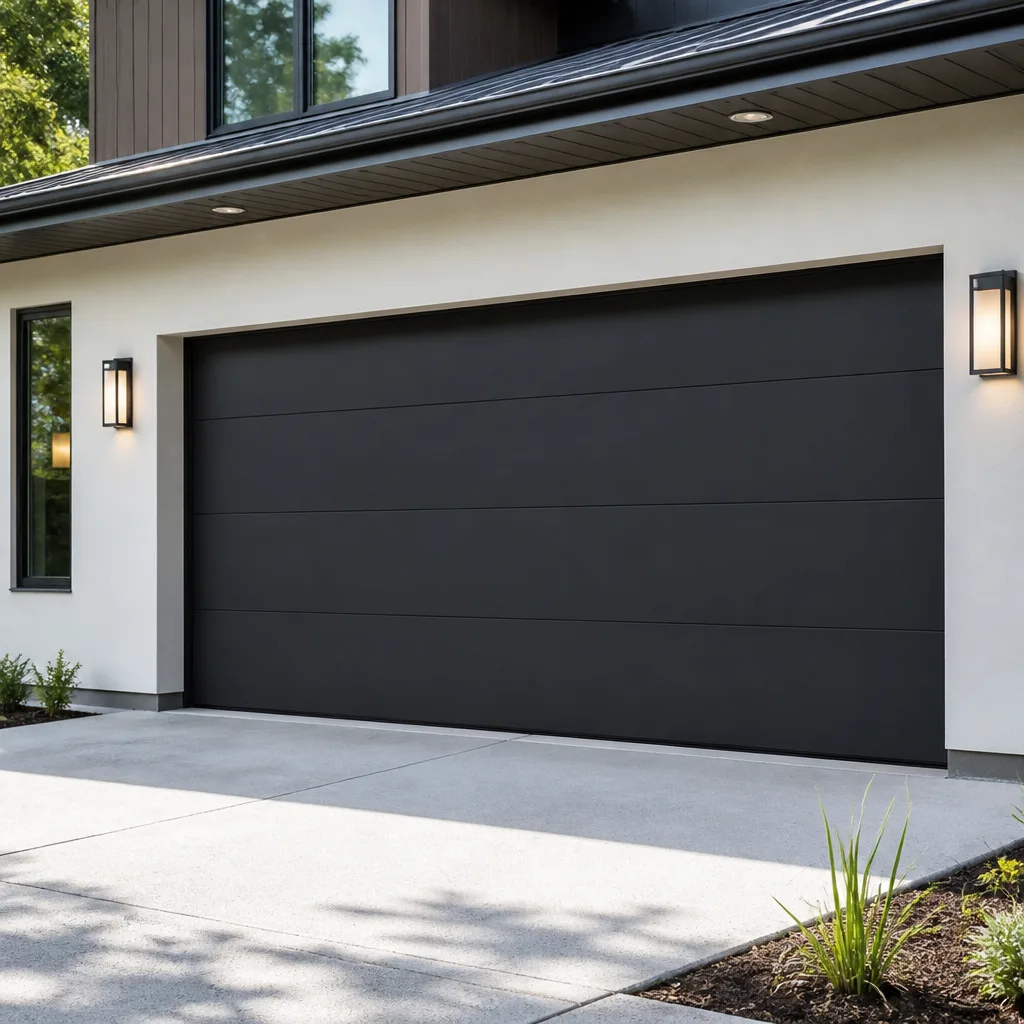 Modern flush
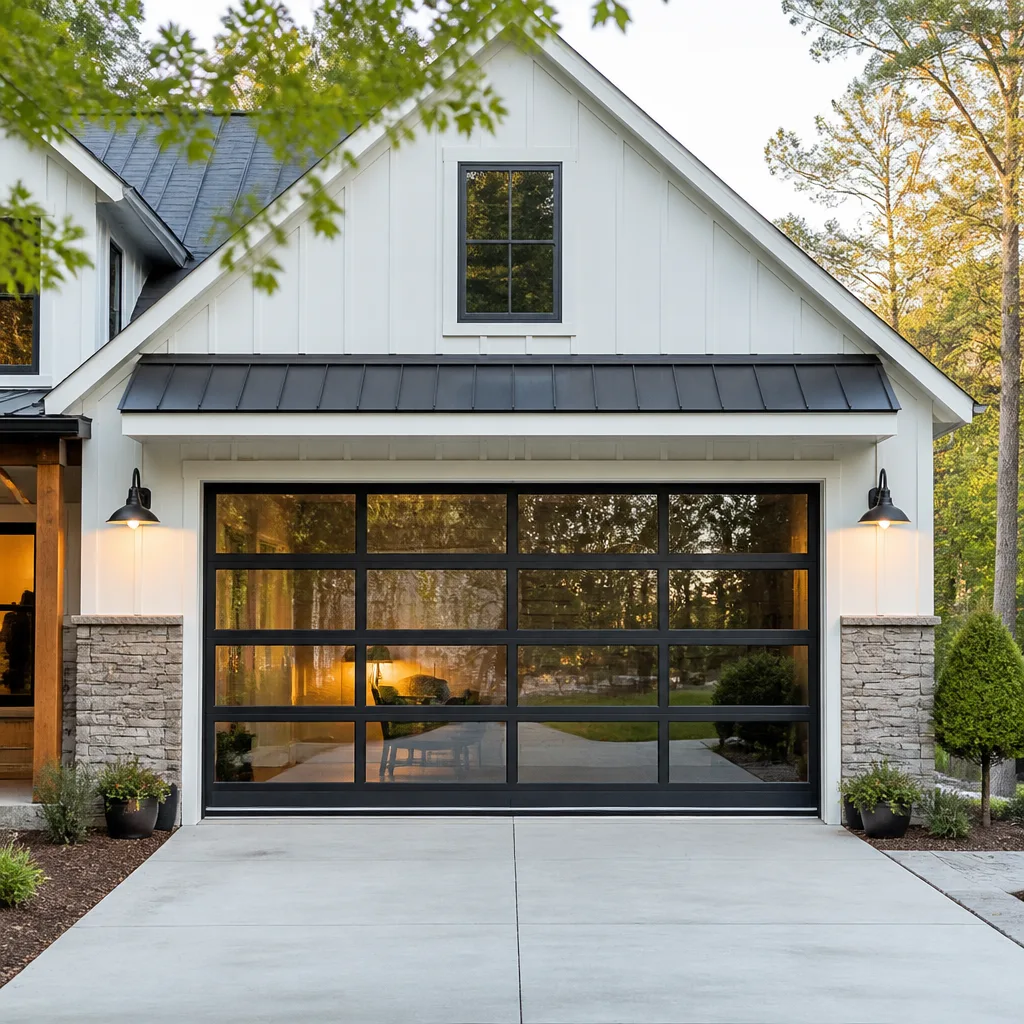 Full-view glass
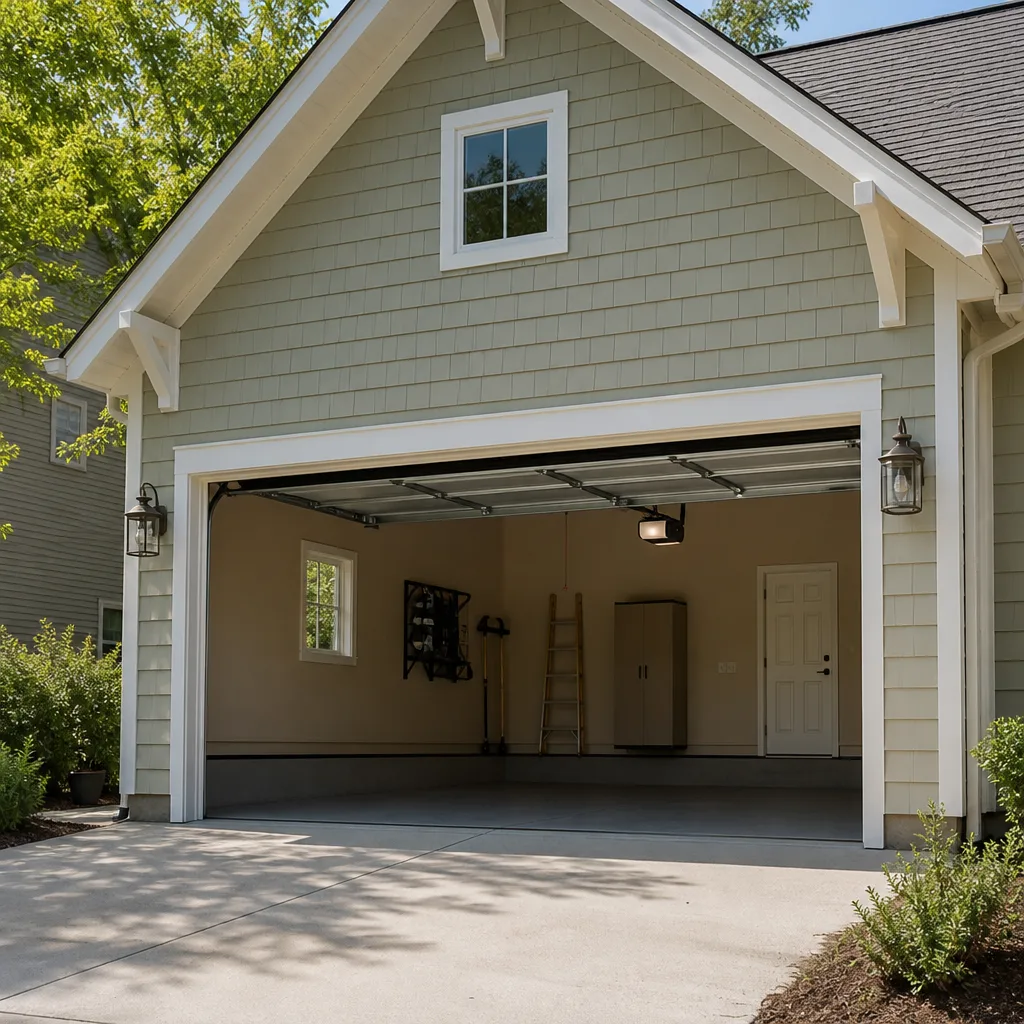 LiftMaster openers
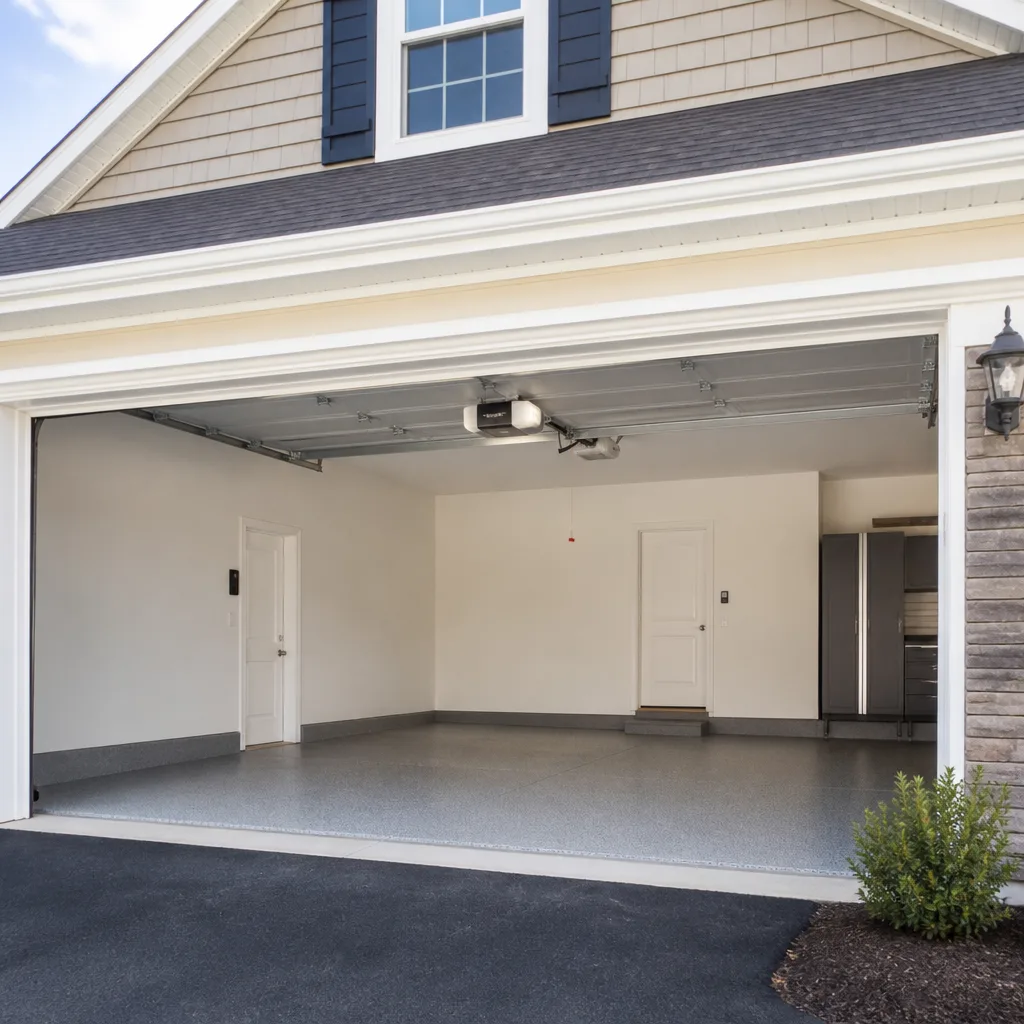 Chamberlain openers
Full 25-point door and opener safety check with every visit - springs, cables, rollers, tracks, and your LiftMaster or Chamberlain opener included
You get a price before we start. It does not change when the truck arrives.
Get your free estimateGarage Door Repair Maintenance Checklist for Evergreen Homeowners
Most garage door maintenance checklists circulating online are worse than useless. They were written to cover every door in every climate from Maine to Arizona, so they end up saying things like “lubricate moving parts” without telling you that spraying WD-40 on nylon rollers will destroy them faster than doing nothing at all. Your door is not an abstraction. It’s a specific system with springs under tension, rollers made of a particular material, and an opener that may be a belt drive from LiftMaster or a chain drive that’s older than your kids. This guide is different: it adapts to the door you actually have, the house you actually live in, and the specific wear patterns we see across Evergreen homes. You’ll learn how to build a maintenance routine that catches failures before they strand your car in the driveway, and how to keep a simple running record that tells a technician more than any snapshot inspection ever could.
Styles & brands we work with
- Raised-panel steel
- Carriage house
- Modern flush
- Full-view glass
- LiftMaster openers
- Chamberlain openers
Quick Answer
The most effective garage door maintenance in Evergreen isn’t a one-size-fits-all list. It’s a branch-based routine that changes based on your spring type (torsion vs. extension), roller material (steel vs. nylon), and opener style. Run a focused inspection in late September, test your door’s balance monthly, use only silicone-based or white lithium lubricants on metal parts, never lubricate nylon rollers, and keep a written log of every change you notice. Most impending failures show up in the balance test before they become visible in parts.
Table of Contents
- Know Your System Before You Touch Anything
- Why Late September Matters in Evergreen
- The Balance Test: The Five-Minute Check That Reveals 80% of Problems
- The Lubrication Map: What to Use on Every Part
- Torsion vs. Extension Springs: Different Doors, Different Checks
- Rollers, Tracks, and Hinges: Spotting Wear Before It Breaks
- Opener Maintenance: Mechanical, Electronic, and Smart-Home Layers
- The Running Log: Why Your Memory Isn’t a Maintenance Tool
- Common Mistakes to Avoid
- When to Call a Professional
- Frequently Asked Questions
- The Bottom Line
Know Your System Before You Touch Anything
You cannot maintain what you cannot identify. Most Evergreen homeowners know their garage door opens and closes, but that’s where the knowledge stops. The next step is to look up at the hardware above your door and figure out what’s actually up there. Walk into your garage with the door closed and look at the wall directly above the opening. If you see a long metal bar mounted horizontally with two coiled springs wrapped around it, you have a torsion spring system. If instead you see two long springs running parallel to the horizontal tracks on either side of the door, those are extension springs. The distinction matters because these two systems fail differently and need different kinds of checks.
Your opener is the second thing to identify. LiftMaster and Chamberlain openers dominate the market, but plenty of Evergreen homes still run Craftsman units from the 1990s and 2000s, and a smaller number have Raynor doors paired with whatever opener the previous owner bought. We’ve serviced mixed-brand setups for years, and they’re completely workable. A Raynor door with a Chamberlain opener isn’t a problem. What matters is knowing the opener’s drive type: belt, chain, or screw. You can usually tell by looking at the rail that runs from the motor to the door. A belt looks like a wide black strip. A chain looks like, well, a chain. Knowing these two facts (spring type and drive type) immediately moves you from generic advice to advice that applies to your actual hardware.
Take five minutes this week to check. Write down what you find in a notebook or your phone. You’ll reference it every time you do the checks in this guide.
Why Late September Matters in Evergreen
Evergreen doesn’t get the dramatic freeze-thaw swings that crack seals in colder climates, but our heat does its own work. By late September, the summer has baked every rubber seal on your door for four straight months. Bottom seals compress and stiffen. Weatherstripping around the sides of the door loses flexibility. The reason late September is the right time for a thorough inspection is simple: it’s before the rainy season starts, and a compromised bottom seal means water, leaves, and pests have an open invitation into your garage.
Here’s the Evergreen-specific sequence that works for our climate:
- Late September: Full inspection, seal replacement if needed, lubrication, balance test, opener force test.
- Monthly, year-round: Balance test, visual scan of cables and springs, listen for new noises during operation.
- Every three months: Check bottom seal for cracks or gaps, wipe down photo-eye sensors, test auto-reverse.
- After any unusually heavy wind or storm: Visual check of track alignment, roller seating, and panel condition.
You don’t need to do everything on this list every month. But the balance test is short enough that there’s no excuse to skip it, and it’s the single most predictive check you can do.
The Balance Test: The Five-Minute Check That Reveals 80% of Problems
This test takes less than five minutes and tells you more about your door’s health than any visual inspection. Here’s what you do. First, close the door. Then pull the red emergency release cord hanging from the opener rail. This disconnects the door from the opener carriage. Now manually lift the door by its handle. A properly balanced door should lift smoothly with one hand, stay open around waist height without drifting, and lower gently without slamming. If the door is heavy, if it drops when you let go, if it rockets upward, or if it feels like you’re fighting the whole way, the springs are not doing their job.
This matters because springs do the actual work of lifting the door. The opener is just a motor that moves the door along. When springs wear out, the opener starts compensating, and that’s when motors burn out years before they should. The balance test catches spring fatigue before the opener dies. We see this constantly on doors that are seven to twelve years old. The homeowner thinks the opener is failing, but the real problem is a tired spring system that’s been silently overloading the motor.
One safety note: the balance test doesn’t require you to touch the springs or cables directly. You’re only operating the door by its handle. Never attempt to adjust, tighten, or replace a spring yourself. Torsion springs especially store an enormous amount of energy, and they don’t give warnings when they let go. If the balance test reveals a problem, that’s the signal to call a professional. garage door repair in Evergreen is not a DIY project when springs are involved.
The Lubrication Map: What to Use on Every Part
Most lubrication advice is dangerously vague, and the wrong product on the wrong material does active harm. Here’s the specific map we recommend for Evergreen homeowners, based on what your parts are actually made of.
- Steel rollers: Use white lithium grease on the bearings. A small amount, applied to the bearing inside the wheel, not the wheel itself.
- Nylon rollers: Do not lubricate the wheels. Nylon runs quiet on its own and most lubricants attract grit that wears the nylon down. If the bearing inside the roller is sealed (most newer ones are), there’s nothing to lubricate at all. If it’s open and squeaking, the bearing is already failing. Replace the roller.
- Hinges (metal-on-metal contact): White lithium grease or a silicone spray. Apply a small amount directly to the hinge pins.
- Tracks: Do not lubricate the vertical tracks. The rollers roll on them. Grease on a track turns into a sticky paste that collects dust and makes the door sound like it’s chewing gravel.
- Torsion springs: A light coating of spray-on white lithium grease along the coil helps prevent surface rust and reduces friction between coils. One pass is enough.
- Extension springs: Same treatment, applied lightly along the spring body.
- Opener rail (chain drive): A light machine oil on the chain itself, not the rail. The chain needs the lube; the rail doesn’t.
- Opener rail (belt drive): Nothing. Belt drives are designed to run dry. Oiling a belt attracts debris and shortens its life.
- Opener rail (screw drive): White lithium grease on the screw threads. Follow the opener manufacturer’s guidance, but generally a light coat once a year works.
The product you reach for matters less than the material you’re applying it to. Avoid WD-40 as a lubricant anywhere on a garage door. It’s a water displacer and degreaser, not a long-term lubricant. It will break down whatever grease was already there and leave the part drier than before. Any silicone-based spray labeled as a garage door lubricant works fine for the spray applications above. For the grease applications, a tube of white lithium grease from any hardware store will last you years.
Torsion vs. Extension Springs: Different Doors, Different Checks
Your spring type changes what you’re looking for during an inspection, because these two designs fail in different ways.
Torsion Springs
Torsion springs are mounted on a horizontal bar above the door opening. They fail by breaking, usually with a loud bang that sounds like a gunshot. Before they break, you might notice a visible gap in the coil, rust forming on the spring body, or the door becoming noticeably heavier when you do the balance test. The inspection is visual: look for any separation between coils, obvious rust, or a spring that appears to be unwinding unevenly. Don’t touch it. If you see a gap or crack, stop using the door and call a technician. A broken torsion spring under tension can injure someone who tries to remove it without the proper winding bars and training.
Extension Springs
Extension springs run parallel to the door’s horizontal tracks. They fail by stretching out over time or, less commonly, snapping. Look for springs that appear elongated compared to when the door was new, gaps between coils, or a door that suddenly feels lighter at the bottom but heavier at the top. Extension springs should have a safety cable running through the center of each spring. That cable exists to contain the spring if it snaps. If your extension springs don’t have safety cables, that’s a serious safety gap, not a minor upgrade. Both spring types are under high tension, but extension springs without safety cables are a particular hazard because a broken spring becomes a projectile.
Whichever system your door uses, the maintenance rule is the same: inspect visually, test the balance monthly, and let a pro handle any adjustment or replacement. The balance test tells you what your eyes can’t see.
Rollers, Tracks, and Hinges: Spotting Wear Before It Breaks
Rollers are wear items, not permanent fixtures. A steel roller with worn bearings will still roll, but it’ll grind against the track and wear a groove into the metal. Nylon rollers with failing bearings produce a rattle that most homeowners dismiss as “the door getting old.” Hinges are another quiet failure point: look for cracks at the hinge where it meets the door panel, and check for wobble when you lift the door manually. The door has multiple hinges, and one bad hinge puts extra load on its neighbors, which cascades into alignment problems.
The inspection sequence for rollers, tracks, and hinges goes like this:
- With the door closed, inspect each roller visually. Look for flat spots, visible cracks in nylon wheels, and rust on steel wheels.
- Check the track brackets. The vertical tracks should be firmly bolted to the wall. A loose bracket means the track can flex under load, which causes the door to bind.
- Lift the door halfway during your balance test and wiggle each roller by hand. A roller with a worn bearing will have visible play. The wheel should spin without wobbling.
- Look at the horizontal tracks where the roller sits when the door is open. Worn bearings leave a polished or grooved line in the track where the roller has been dragging.
- Check hinge attachment points on the door itself. Look for hairline cracks radiating from the screw holes, especially on older steel doors.
If you spot a bad roller or cracked hinge, replacing it early costs a fraction of what you’ll pay if the door comes off its track or the panel cracks. garage door opener repair issues often start with the mechanical side, not the motor, and catching worn rollers early spares the opener from working against resistance it was never designed to handle.
Opener Maintenance: Mechanical, Electronic, and Smart-Home Layers
Modern openers aren’t just motors anymore. A LiftMaster or Chamberlain unit made in the last five years likely has Wi-Fi connectivity, smartphone control, and battery backup. A Craftsman unit from fifteen years ago is purely mechanical and electronic, no internet involved. Both need maintenance, but the modern units add a layer that older ones don’t have.
Start with the mechanical layer. Pull the emergency release cord and run the door through a full cycle by hand. It should move smoothly without grinding or binding. If it doesn’t, the problem is in the door, not the opener, and you can save yourself a service call by identifying that before calling. Next, check the opener rail. Belt drives need no lubrication, chain drives want a light machine oil on the chain, screw drives want grease on the screw threads. While you’re up there, look at the mounting brackets where the opener attaches to the ceiling. A loose opener rattles, and a rattling opener wears out gears faster.
The electronic layer includes the photo-eye sensors mounted near the bottom of each track. Wipe the lenses with a dry cloth. These sensors get dusty, and a dirty sensor can cause the door to refuse to close or reverse suddenly mid-cycle. Test the auto-reverse function by placing a roll of paper towels flat on the ground in the door’s path, then closing the door. It should reverse immediately upon contact. Test the sensors by passing your foot through the beam while the door is closing. The door should stop and reverse.
For smart openers, check the app occasionally. If the opener has battery backup, the app will usually tell you when the battery is end-of-life. If your Chamberlain or LiftMaster opener suddenly loses Wi-Fi, that’s usually a router issue, not an opener failure, and reconnecting is often as simple as re-pairing through the app. When the mechanical or electronic layers fail, that’s when Ashton Garage Door Repair gets called. We work on all eight of the major brands you’re likely to have, from the newest smart openers to the oldest chain drives still running.
The Running Log: Why Your Memory Isn’t a Maintenance Tool
Here’s the maintenance habit that almost no homeowner adopts but that makes a bigger difference than any single inspection: write things down. Not once. Every time. A technician who walks into your garage sees a snapshot. They can see that a spring is rusty, but they can’t tell whether that rust appeared last month or three years ago. They can hear a grinding roller, but they don’t know if it’s been grinding for a week or a year. You live with this door. You’re the only one who can provide the timeline.
Your running log doesn’t need to be elaborate. A notes app on your phone works. A notebook on a shelf in the garage works too. Every month, after you do the balance test, write down three things: the date, how the door felt during the test, and anything you noticed while it was opening and closing. Here’s what an effective entry looks like:
- Date: March 14
- Balance: Normal, no change from last month.
- Noises: Slight rattle from left roller when closing. Wasn’t there before.
- Other: Bottom seal looks compressed on right corner.
Three months of entries like that tell us more than a quick visual inspection ever could. We can see that the rattle appeared gradually and is getting worse, which points to a specific bearing failure. We can see that the seal compression has been visible for a while and is probably causing the water stain on the garage floor. This kind of record also helps you avoid unnecessary work. If a noise has been present and unchanged for two years, it’s probably benign. If it showed up suddenly and is getting louder every month, that’s a different conversation.
One caution: never put your hand near moving parts to “feel” for a problem. You’re observing, not diagnosing by touch. The log is about what you see and hear.
Common Mistakes to Avoid
- Lubricating nylon rollers. Nylon rollers are designed to run dry. Spraying grease on them attracts grit, turns into abrasive paste, and shortens the roller’s life. If a nylon roller is noisy, the bearing is failing, not the wheel. Replace it.
- Using WD-40 as a garage door lubricant. It’s a solvent and degreaser, not a lubricant. It strips existing grease and leaves metal parts drier than they were.
- Greasing the tracks. Tracks are not sliding surfaces. Grease on a track combines with dust to create a sticky mess that grinds against the rollers.
- Skipping the balance test because the door “works fine.” Spring fatigue is gradual. The door works right up until the point it doesn’t, and by then the opener may already be damaged.
- Ignoring a noisy door. New noises are data. A squeak that appears suddenly and gets louder is a failing bearing announcing itself. Waiting until the noise becomes a grinding sound usually costs more.
- Tightening spring hardware without the right tools and training. Torsion springs under tension can cause serious injury. Never loosen or tighten a spring bolt yourself. The balance test is safe. Spring adjustments are not.
- Replacing the opener when the door is the problem. A door that’s hard to lift manually will burn through a new opener just as fast as the old one. Fix the door first.
When to Call a Professional
Some things are checks. Some things are calls. You should call a professional when the balance test reveals a door that’s heavy, drops on its own, or slams shut. You should call when you see a visible gap in a torsion spring, a snapped cable, or an extension spring without a safety cable. You should call when a roller has visibly disintegrated or come out of the track. And you should call when you’ve logged a noise that’s been getting worse for two or three consecutive months. None of these are situations where another month of observation tells you anything new. Ashton Garage Door Repair offers free estimates in Evergreen. Call (833) 400-0995 and we’ll come out, look at the door, and tell you exactly what needs attention and what doesn’t.
For opener-specific issues, garage door opener repair covers everything from failed motors to dead remotes to Wi-Fi connectivity problems, and it means you don’t need to call a separate contractor for the electrical side of the system. One call covers the whole door, from the spring to the smart opener.
Frequently Asked Questions
Once a year is enough for most homes in Evergreen. Do it in late September, at the same time you do your full inspection. Metal parts need the protection before winter damp sets in, but our summers are hard on lubricants too, so a single annual application is the right rhythm. Use white lithium grease on metal bearings and light machine oil on chain drives, and skip the nylon rollers entirely.
A heavy door means the springs are no longer counterbalancing the door’s weight. That’s either a broken spring or a spring that’s lost tension through normal fatigue. The opener has been masking the problem. If the door is noticeably heavier than it was a few months ago, call us for a free estimate. Continuing to run the door on a tired spring will burn out the opener motor.
No. Torsion springs in particular are installed under high tension and require specialized winding bars and training to work with safely. A spring that lets go during a DIY repair can cause serious injury. This is the one component of your door that should always be handled by a professional. Call (833) 400-0995 for a free estimate. We answer 24/7. Fast dispatch from 7am to 7pm, Sunday through Friday.
Most springs are rated for 10,000 cycles, which usually translates to seven to twelve years of normal use for a homeowner who opens the door twice a day. Factors like the door’s weight, balance quality, and how often it’s lubricated all affect lifespan. If your door is over ten years old and you’re noticing it getting heavier, start budgeting for spring replacement.
A grinding noise from the opener usually points to worn gears inside the motor housing or a failing sprocket on a chain drive unit. It’s not something lubrication fixes. The longer it runs, the more damage accumulates. Call us for garage door opener repair, and we’ll identify whether the problem is in the opener, the door, or both.
Yes. We service doors and openers from LiftMaster, Chamberlain, Genie, Clopay, Amarr, Wayne Dalton, Craftsman, and Raynor. That includes mixed-brand setups like a Raynor door paired with a Craftsman opener or an Amarr door with a Chamberlain opener. A single technician can handle the whole system. If you live in Evergreen, we’ll come to you.
The Bottom Line
Garage door maintenance in Evergreen works best when it matches the system you actually own. Identify your spring type and opener drive, do the balance test every month, lubricate only the parts that need it, and keep a running log of what you see and hear. The late September inspection catches seal deterioration before winter drafts and pests find their way in. If the balance test reveals a heavy door, a cable looks frayed, or a spring has a visible gap, stop running the door and call a professional. The split between what a homeowner can safely check and what a technician should handle is a bright line. Armed with the information from this guide, you’ll know exactly where that line sits for your door.
Written by the team at Ashton Garage Door Repair, serving Evergreen since 2013.
See the difference
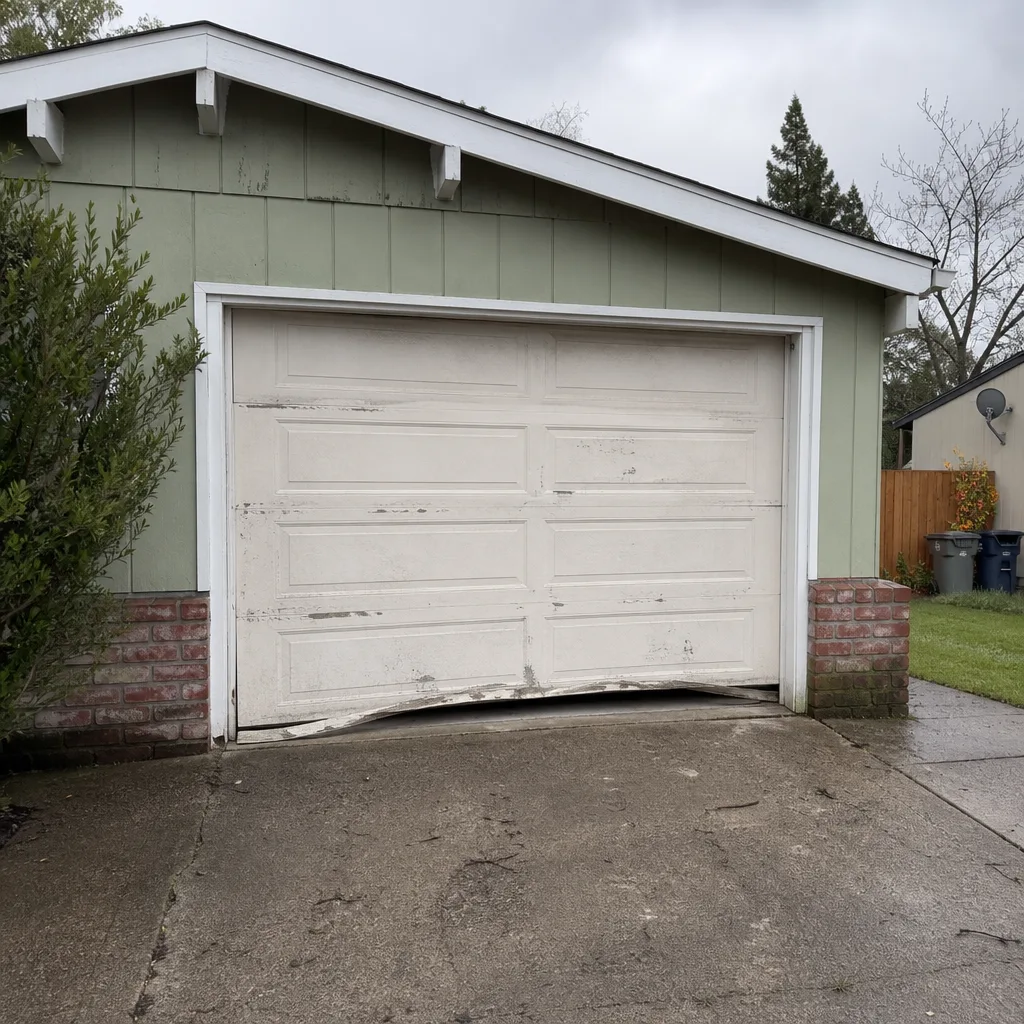 Before
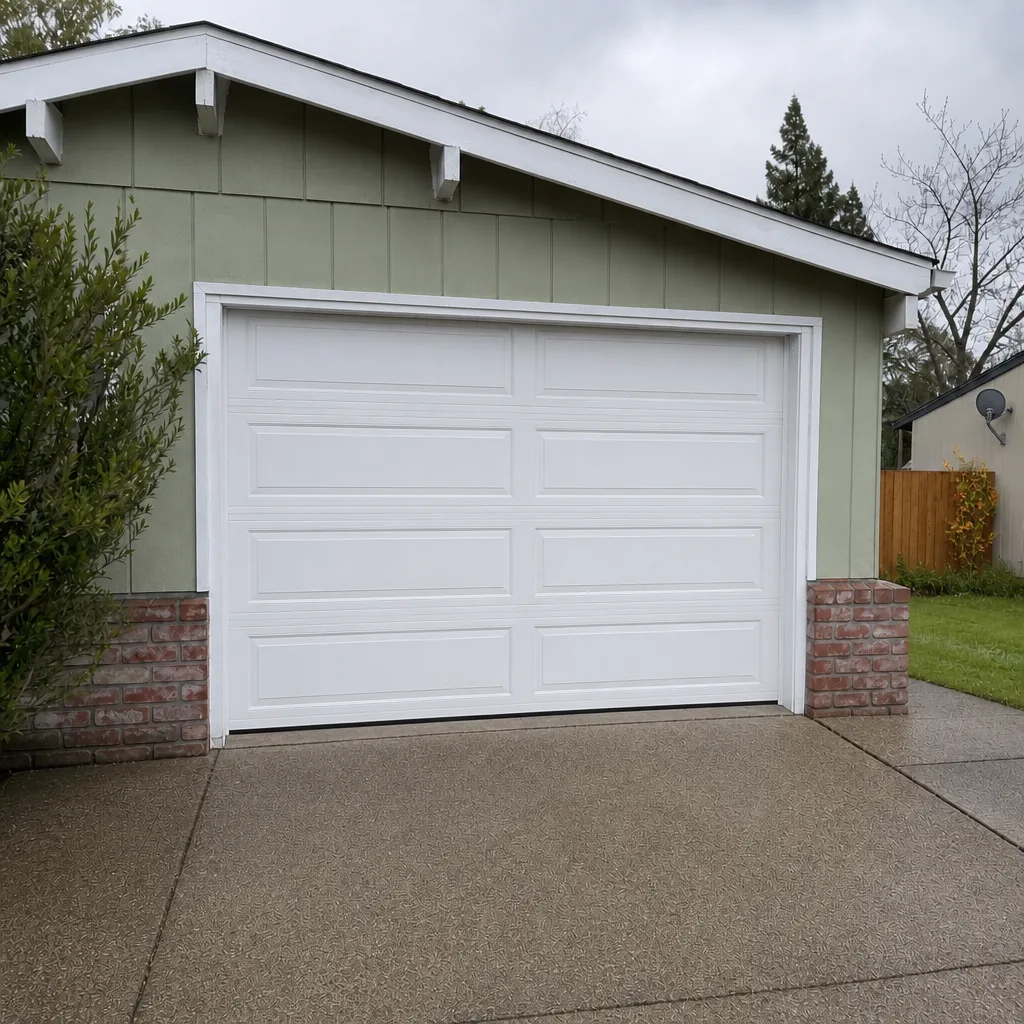 After
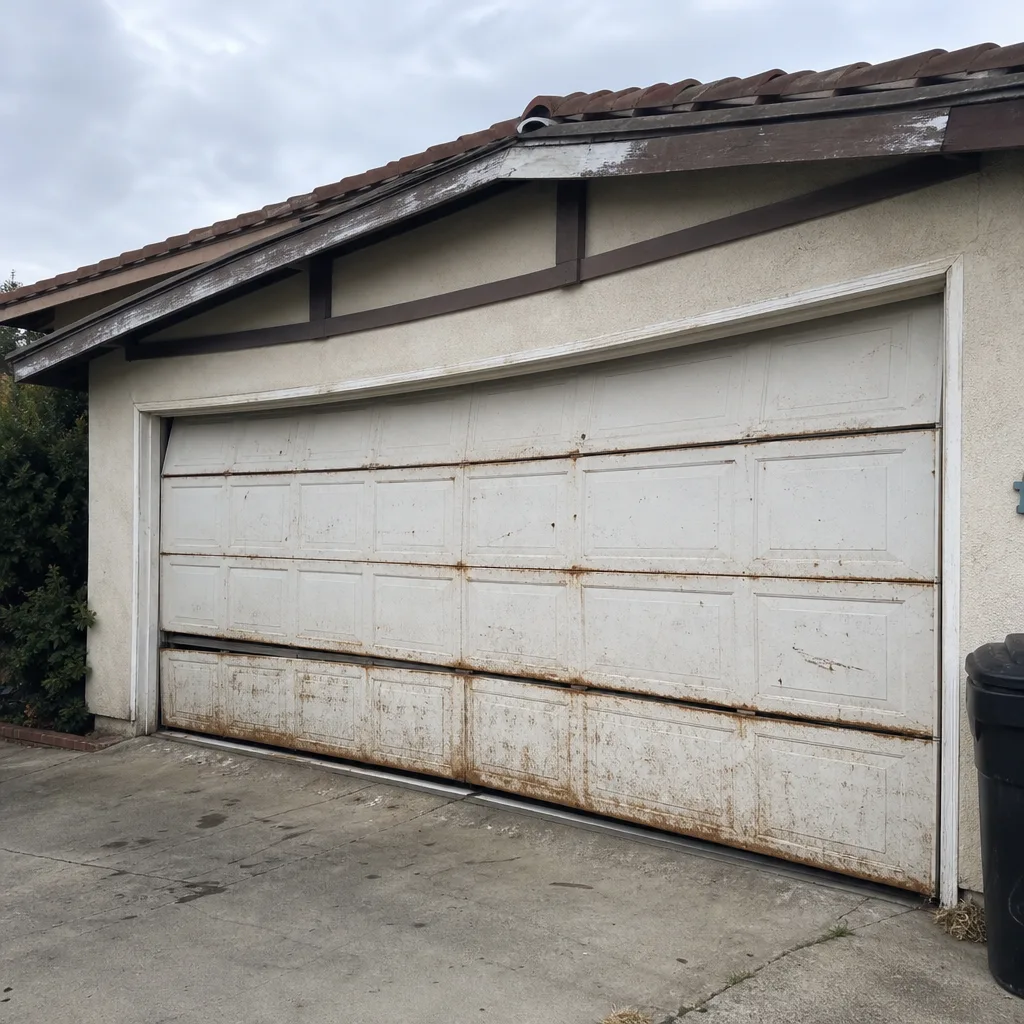 Before
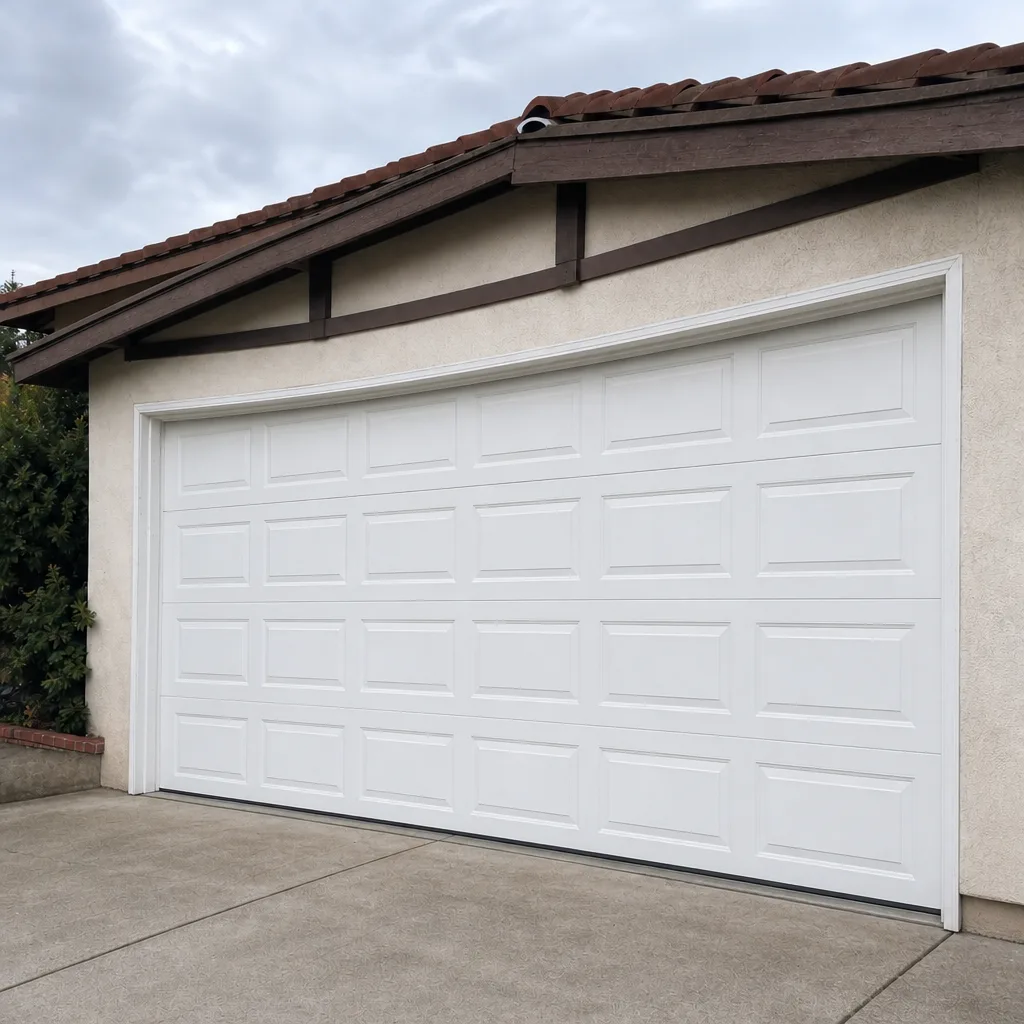 After
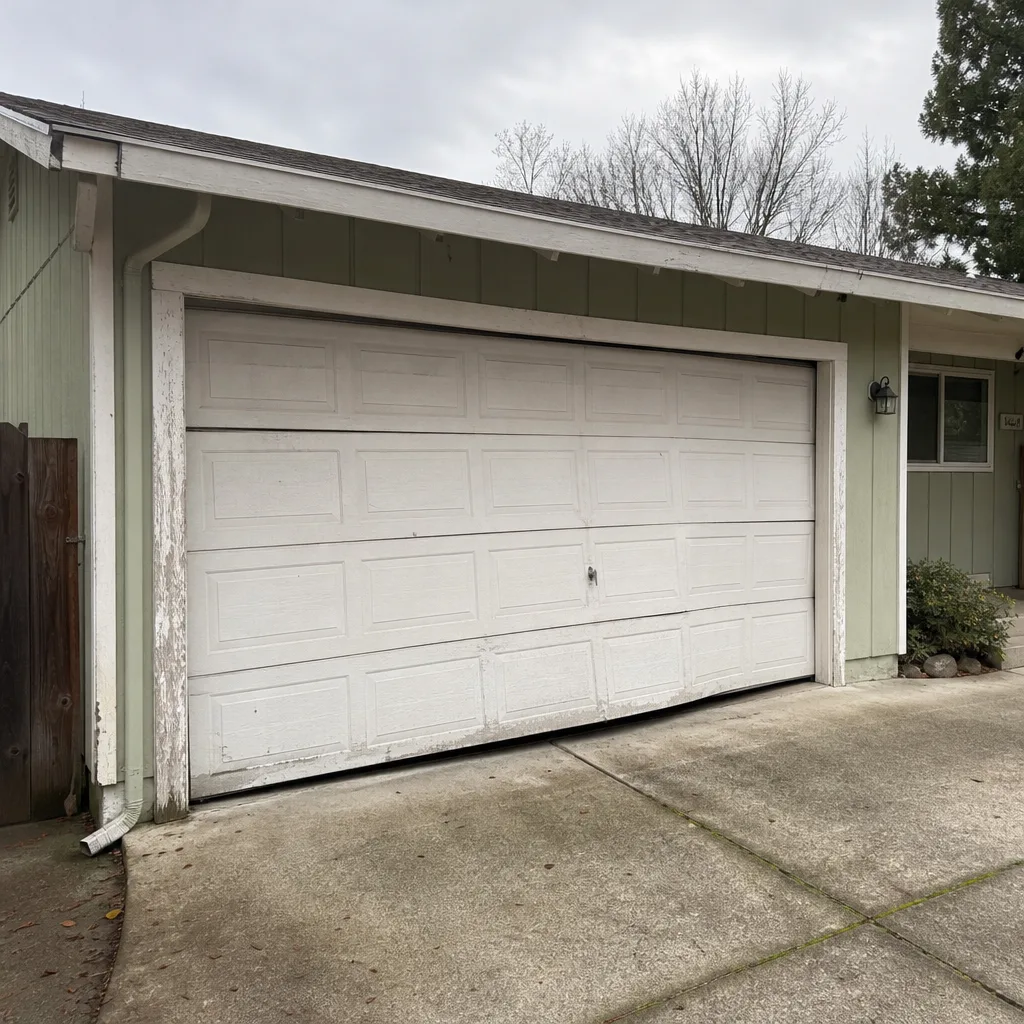 Before
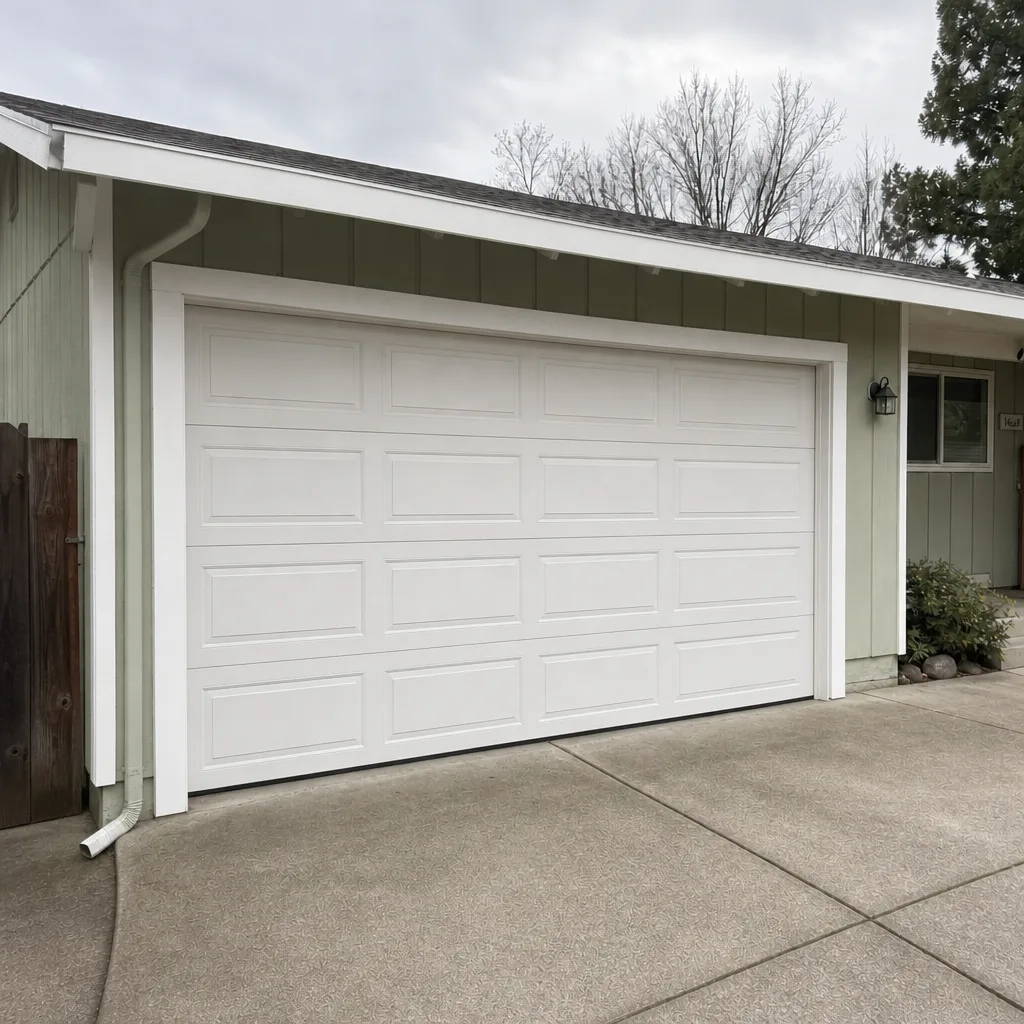 After