
Last updated November 4, 2026
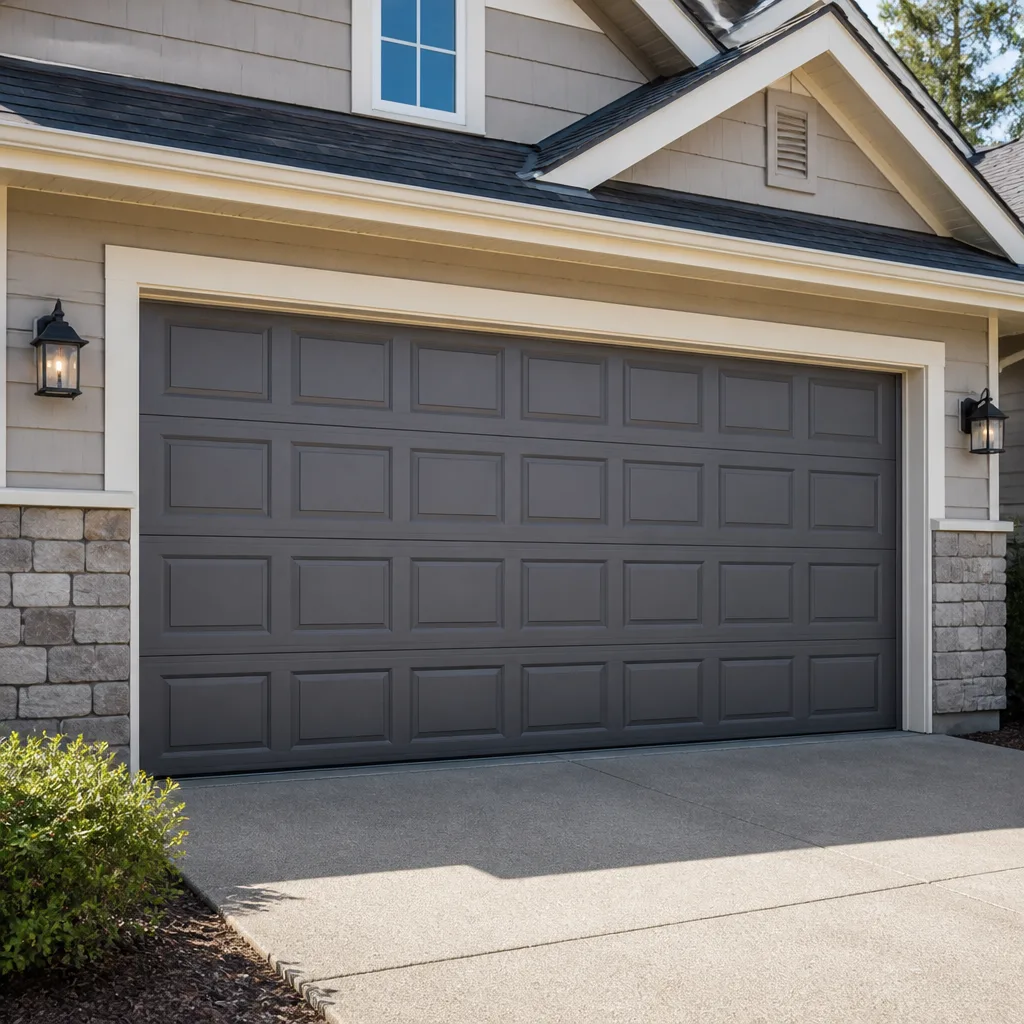 Raised-panel steel
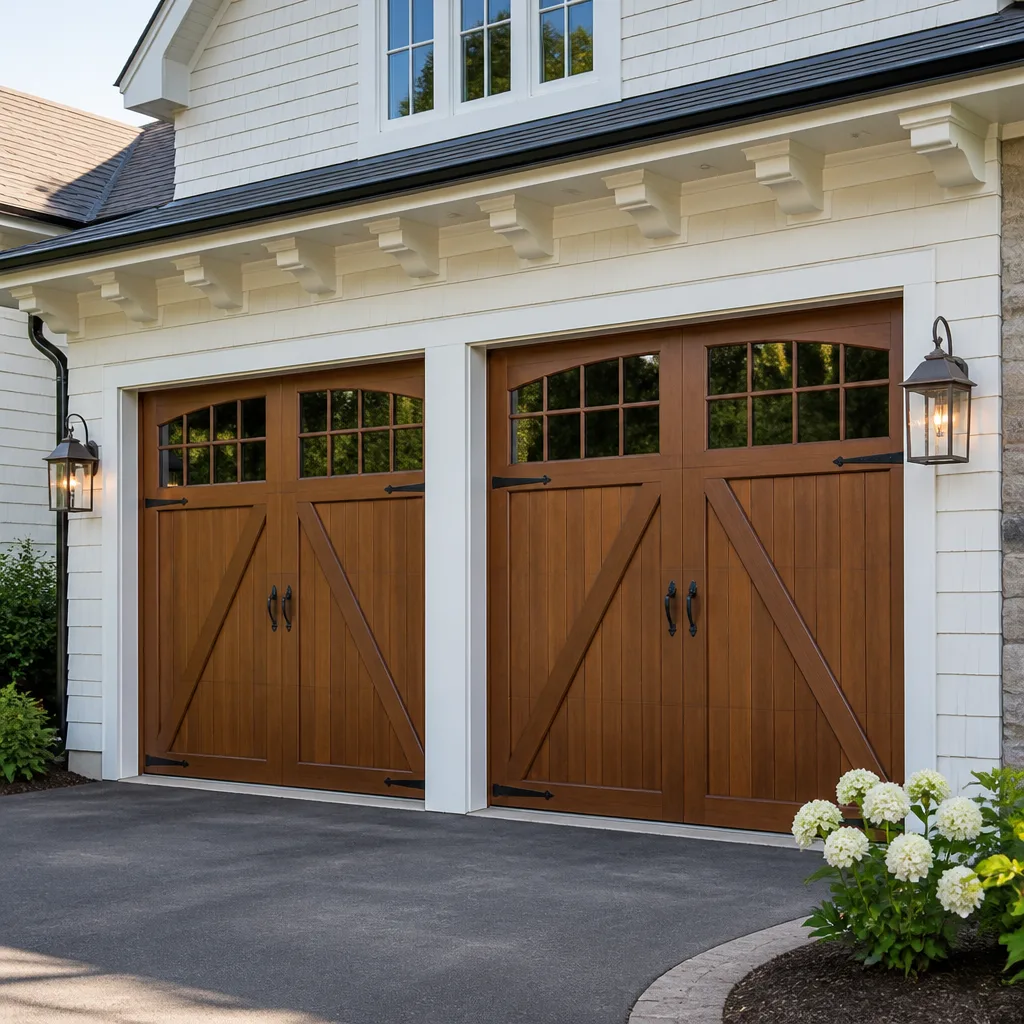 Carriage house
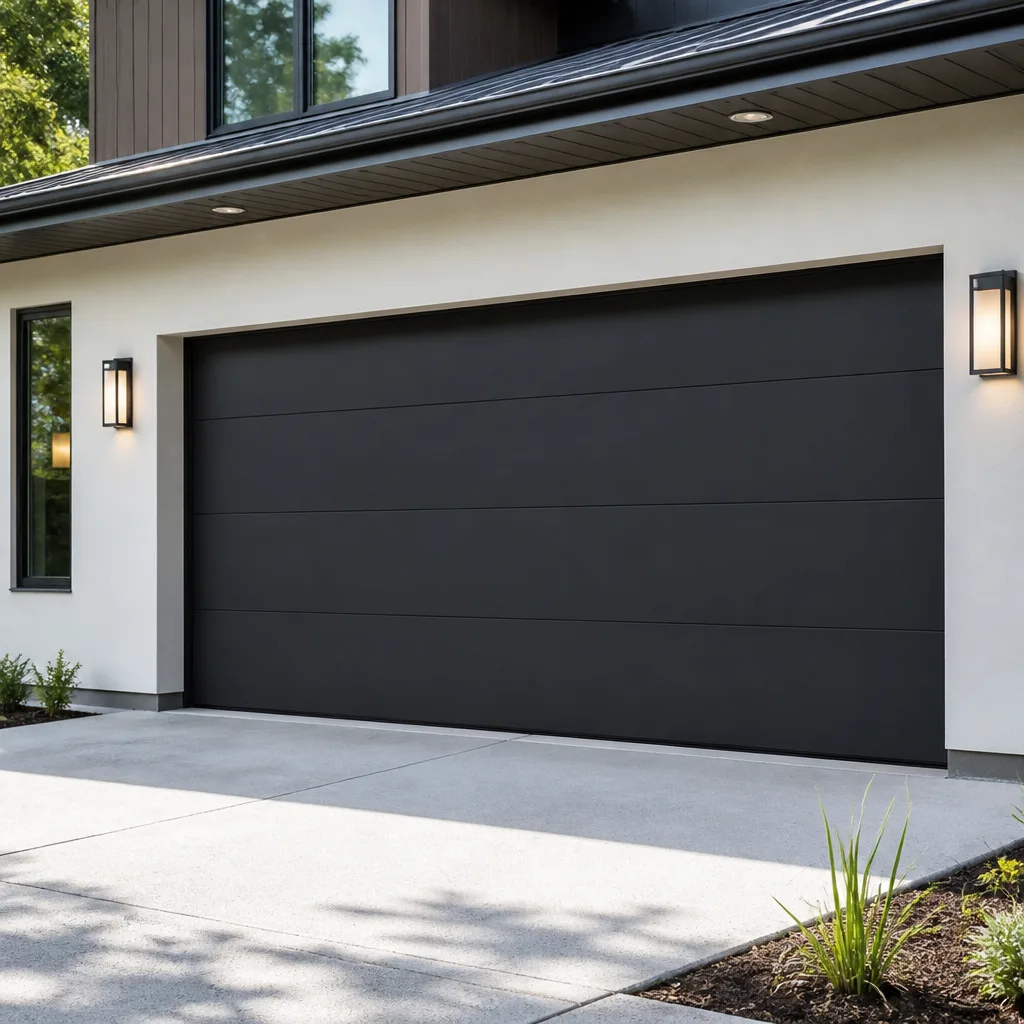 Modern flush
 Full-view glass
 LiftMaster openers
 Chamberlain openers
Full 25-point door and opener safety check with every visit - springs, cables, rollers, tracks, and your LiftMaster or Chamberlain opener included
You get a price before we start. It does not change when the truck arrives.
Get your free estimateGarage Door Repair Maintenance Schedule: What to Do and When
Lubricating your garage door springs before checking their balance is one of the most common DIY maintenance mistakes we see in Evergreen. It makes a worn spring feel smooth and quiet right up until it snaps under load, usually at the worst possible moment. This guide lays out a correctly sequenced, twice-yearly routine you can complete in under an hour. You’ll learn what to inspect first, what to lubricate second, which products to use on which parts, and how to tie the whole schedule to something you already do twice a year: changing the clocks.
Quick Answer
A garage door maintenance schedule should follow a strict sequence: inspect and correct alignment first, tighten hardware second, test the balance third, and lubricate last. Twice a year is enough for Evergreen homeowners, and the easiest way to remember it is to run the routine every spring and fall when daylight saving time changes. A full pass takes under an hour and catches the five components most people skip: the bottom seal, roller stems, cable drums, trolley carriage, and weather stripping ends.
Styles & brands we work with
- Raised-panel steel
- Carriage house
- Modern flush
- Full-view glass
- LiftMaster openers
- Chamberlain openers
Table of Contents
- Why Sequence Matters More Than the Tasks Themselves
- When to Run Your Twice-Yearly Maintenance in Evergreen
- The Under-an-Hour Maintenance Sequence, Step by Step
- The Five Components Most Homeowners Skip
- Which Lubricants Go Where, and What Never Touches a Spring
- How to Set a Maintenance Reminder You Won’t Ignore
- Common Mistakes to Avoid
- When to Call a Professional
Why Sequence Matters More Than the Tasks Themselves
A garage door is a system, not a collection of parts. When you lubricate a component that is already misaligned, the grease doesn’t fix the problem. It masks it. A roller that is wearing unevenly because the track shifted will feel fine after a spray of lubricant, until the roller stem fatigues and breaks. A torsion spring that has lost tension will glide quietly after lubrication, but the imbalance is still there, putting extra strain on the opener motor every single cycle.
The correct order is simple and non-negotiable: inspect and correct before you lubricate, and tighten before you test. Here is why this sequence protects you from a false sense of security. Lubricants reduce friction. Friction is often the only warning sign a failing part gives you. If you remove the symptom without addressing the cause, you lose your early warning system. A spring that should have been replaced at the first sign of wear gets quieted down with silicone spray, and six weeks later it lets go while the door is halfway up. That is not a dramatic hypothetical. That is the sequence error in action.
We work on doors from Clopay, Amarr, Wayne Dalton, and Raynor, and the sequence is the same regardless of brand or price point. A premium Clopay door with a misaligned track fails just like a budget door with the same issue. The difference is that a disciplined sequence catches the misalignment before the failure. Your door, your brand, the same sequence applies.
The other reason sequence matters is torque and tension. When you tighten hardware before testing balance, you are making sure the door moves the way it was designed to move. If you test first and tighten second, you have tested a loose door. The results of that test are meaningless. The tension numbers a spring carries in Evergreen’s climate shift between seasons, and a door that tests balanced in August can test the opposite in November. More on that in the timing section below.
When to Run Your Twice-Yearly Maintenance in Evergreen
Evergreen sits in a mild climate with warm summers and cool, damp winters. Metal contracts as temperatures drop, and the most noticeable shift happens when overnight lows begin dipping below 50°F. That is the signal for your fall maintenance pass. We recommend scheduling the fall check in early to mid October, before those overnight temps become consistent. The point is to tune the door while it is still near its warm-weather geometry, then verify it as the metal contracts.
The spring pass happens in late March or early April, after the overnight lows have stabilized back above 50°F. By then, the door has spent months running cold. Hinges, rollers, and cables have been operating with parts contracted and perhaps slightly out of position. The spring pass corrects any drift and prepares the door for the highest-use season.
Why twice a year? Garage doors move more than almost any other mechanical system in your home. If you open and close the door four times a day, that is roughly 1,460 cycles per year. Most torsion springs are rated for a specific cycle life, usually 10,000 cycles for standard springs and 20,000 for extended life. Twice-yearly maintenance does not extend that rating, but it catches problems early enough that you replace a spring before it breaks, rather than after it takes a hinge, cable, or panel with it.
There is no snow load or freeze-thaw cycling to worry about in Evergreen, so the seasonal routine is shorter than what a homeowner in the Midwest might need. You are not clearing ice from weather stripping or cranking a frozen door open. But the damp coastal-influenced air means hinges and steel parts can develop surface corrosion faster than inland deserts. A silicone spray pass twice a year keeps that in check.
For opener systems from LiftMaster, Chamberlain, and Genie, the same twice-yearly timing applies. The opener carriage and rail do not care what the weather is doing, but the door they are moving does. If you only run maintenance when you remember, you will skip a season. Tying the schedule to daylight saving time fixes that.
The Under-an-Hour Maintenance Sequence, Step by Step
This routine assumes the door is closed. Work from the inside of the garage. A flashlight helps. Set aside one hour the first time; subsequent passes usually take 40 minutes or less. Do not rush the sequence. The order below is the whole point.
Step 1: Visually Inspect the Door and Hardware
Stand about six feet back and look at the door as a whole. Check that it sits level in the opening. Look at the gaps along the top, bottom, and both sides. An even gap all the way around is good. A wider gap on one side means the door is shifted, usually because a track is out of alignment or a cable is beginning to slip.
Then get close. With the door closed, inspect each spring. Look for a visible gap in the coil, which means the spring is broken. Look for rust, which means the spring is aging and losing its protective coating. On torsion springs, check the set screws on the drums at each end. They should be tight and free of rust. On extension springs, check the safety cables that run through the middle of each spring. Those cables keep a broken spring from flying across the garage.
Next, look at the cables. They should run straight in their grooves on the drums. A cable that looks fuzzy, has broken strands, or is starting to ride up over the edge of the drum is close to failing. Do not attempt to fix a cable problem yourself. Cables are under full spring tension and a misstep is dangerous.
Finally, inspect the rollers. They should sit in the center of the track, not rubbing against the side. A roller that is tipped, cracked, or missing a chunk of plastic or nylon needs replacement. Check all hinges and brackets for loose bolts or cracks.
Step 2: Tighten Hardware
Hand tighten every bolt and nut you can see. Use a socket set, not a wrench, and do not use power tools; hand tight is enough, over-tightening strips threads and cracks brackets. Work through the hinges on each panel, the brackets holding the rollers, the track mounts, and the opener rail mounts.
Most garage door hardware shakes loose over time from vibration. A door that rattles when it runs almost always has loose track bolts. Tightening solves the rattle and prevents the track from drifting out of alignment.
Step 3: Test and Correct the Balance
Disconnect the opener by pulling the red emergency release cord. With the door released, manually lift it to waist height. It should stay put on its own. Let go. If it drifts up, the springs are holding too much tension. If it drops, they are not holding enough. Neither condition is safe to correct yourself. Spring tension correction requires winding bars and knowledge of the exact number of turns for your spring size.
What you are testing here is whether the door is balanced. A balanced door is neutral. The springs are doing their job and the opener is only moving the door, not fighting it. If the door fails this test, call a garage door repair specialist. Do not lubricate the springs and call it good. A spring that fails the balance test is a spring that needs tension adjustment or replacement, not lubrication.
Step 4: Lubricate the Right Parts
Only after the balance test passes do you lubricate. Use a silicone-based spray for anything that touches another moving part. Spray a light coat on each roller bearing, not the roller itself where it touches the track. Spray the hinges where the pivot points are. Spray the torsion spring directly along its length, enough to coat it but not so much that it drips onto the floor. If you have extension springs, spray them lightly and wipe off the excess so dust does not stick.
Do not use white lithium grease on these parts. It stays thick and attracts grit, and grit accelerates wear. White lithium has its place, but it is narrow and specific. More on that below.
Step 5: Check the Opener and Safety Systems
Reconnect the door to the opener. Run the door through a full cycle and listen. Hitting the opener’s force adjustment is not part of this routine. What you are checking is the opener’s balance against the door. A door that just passed the balance test should make the opener run smoothly and quietly. If the opener groans or strains, the issue is often the door, not the opener, even though the noise comes from the motor.
Test the auto-reverse safety feature. Place a roll of paper towels in the door’s path and close the door. It should reverse on contact. Then test the photo eyes. While the door is closing, wave your hand between the two sensors. The door should stop and reverse. If either test fails, address it. A door that does not reverse is a serious safety hazard.
For opener brands like Chamberlain, LiftMaster, and Genie, the safety systems are standardized and should be tested the same way. If your opener uses a battery backup, check the battery and replace it every one to two years. We do not list this as a main step because it is not an annual issue, but a fall check that skips the battery is leaving a gap.
Step 6: Inspect the Bottom Seal and Weather Stripping
The bottom seal is the rubber strip running along the bottom of the door panel. It keeps water, dust, leaves, and pests out. Over time it flattens, cracks, or tears, especially at the corners where most of the friction happens. In Evergreen, the damp winter air means a failed bottom seal lets moisture sit on the concrete slab, and that moisture feeds rust and mildew.
Run your hand along the seal and look for gaps. The seal should press firmly against the floor when the door is closed. If you can see daylight under the door, replace the seal. This is a straightforward replacement for most doors. The side and top weather stripping should be inspected too, especially the ends, which pull away from the track over time.
The Five Components Most Homeowners Skip
Every garage door maintenance guide mentions springs, rollers, and hinges. The parts below are just as important and almost universally skipped. Each one has a specific failure cost, and in Evergreen’s climate, each fails a little faster than the national average.
- Bottom seal. The bottom seal is the first line of defense against water and pests, and it is the first thing to wear out. Most of the time the center of the seal looks fine, while the corners have worn down to nothing. Failing to replace a flattened bottom seal means water pools on the concrete, and the bottom panel of the door stays damp through the winter. On steel doors, that is how rust starts. A new bottom seal costs under $30 and takes about 20 minutes to install.
- Roller stems. Everyone checks the roller wheel, but the stem is the part that actually fails. The stem is the shaft that attaches the wheel to the hinge. A bent or corroded stem makes the roller run at an angle, which carves a groove into the track. By the time the wheel looks worn, the stem has usually been damaged for months. Check the stem for straightness and rust around the base where it meets the wheel.
- Cable drums. The drums at each end of the torsion tube guide the lift cables. A groove worn into the drum changes the cable’s path and changes the way the door rises, often causing uneven gaps. Drums are not a part you replace every year, but you should inspect them twice a year for groove wear and set screw tightness. A loose set screw lets the drum slip, which unspools the cable unevenly and can snap it.
- Trolley carriage. The carriage is the part of the opener that rides along the rail and pulls the door. It is not a door part, so door-focused checklists skip it. Over time, the carriage slider wears and the rail picks up dust and grime. A dirty rail makes the opener work harder, which shortens motor life. Clean the rail twice a year with a dry rag, and lubricate the carriage if your opener manual says to. Check your specific Chamberlain, LiftMaster, or Genie manual, since each brand has different guidance.
- Weather stripping ends. The side and top weather stripping does most of its work at the ends, where the vertical and horizontal pieces meet. That is where it pulls away from the track and where cold air gets in. A ten-foot section of stripping can be perfect along its length and failed at both ends. Push the stripping back into its track or replace it, and check the corners every time.
Which Lubricants Go Where, and What Never Touches a Spring
The garage door aisle at a hardware store has a dozen products that all look right. Most of them are wrong. Two products do almost everything: silicone spray and white lithium grease. They are not interchangeable.
Silicone spray is a thin, non-sticky lubricant that dries quickly and leaves a low-friction film. Use it on torsion springs, extension springs, hinge pivot points, roller bearings, and the lock mechanism. It does not attract dust, which matters in a garage where sawdust and concrete dust are constantly in the air. Any spray with PTFE added is fine. A garage door lubricant sold by a door brand like Clopay or Amarr is essentially silicone spray with a brand label. We use silicone lubricant on every spring we service.
White lithium grease is a heavier grease with a sticky carrier that keeps it in place. Use it on the opener rail, specifically the top surface where the trolley carriage rides. The grease film stays where you put it and does not drip onto the car below. Do not use white lithium on springs, hinges, or rollers. Its stickiness turns the fine dust in a garage into grinding paste, which is the opposite of what you want.
What never touches a torsion spring: WD-40 or any general-purpose penetrating oil. WD-40 is a water displacer and cleaner, not a long-term lubricant. It evaporates and leaves the metal drier than before. Motor oil is also wrong; it collects dirt and drips. Never use any product that leaves a thick, greasy film on a spring.
To lubricate a spring correctly, spray a light, even coat along the full length of the coil. You are not trying to soak it. One pass with the nozzle at about six inches is enough. Wipe up drips. If the spring is rusty, do not try to scrub the rust off with a wire brush and then lubricate. A rusted spring has already lost its integrity and should be evaluated for replacement. Lubricating a rusted spring does not buy you time; it just makes the failure quieter.
How to Set a Maintenance Reminder You Won’t Ignore
The best-maintained garage doors in Evergreen belong to homeowners who piggyback the maintenance schedule onto a habit they already have. Daylight saving time is the one. Spring forward in March, fall back in November. Both dates fall exactly when the seasonal maintenance passes should happen. When you change the clocks on the wall or in the car, run the garage door maintenance sequence the same weekend.
Set a recurring calendar reminder for the second Sunday in March and the first Sunday in November, which are the daylight saving change dates. Title it “Garage door maintenance + clocks.” The two tasks together take about an hour and a half. The reason this works better than a random quarterly reminder is that the clock change is already a home maintenance ritual for most people. Electricians have used the same trick for smoke detector battery checks for decades. Hitching your garage door routine to it means it happens even in a busy year.
For people who do not change clocks, set a reminder on your phone or in a paper calendar for the first weekend of April and the first weekend of October. The exact weekend is less important than the consistency. A schedule you run two weeks late is better than a schedule you skip completely.
If the thought of running this sequence yourself feels like a lot, remember that garage door opener repair and maintenance are services we do every day. We can run the full inspection and tune-up on your door and opener in one visit, from the spring to the smart opener. One call covers the whole door.
Common Mistakes to Avoid
- Lubricating before inspecting. As covered above, this masks wear and removes your early warning signs. The sequence is inspect, correct, tighten, test, then lubricate. Reverse the order and you have a quiet door that is about to fail.
- Using the wrong lubricant. White lithium on a torsion spring is a mistake. It collects dust and turns into abrasive paste. Anything sold as a general-purpose oil in a can is also wrong. Stick to silicone spray for springs and hinges, white lithium for the opener rail.
- Skipping the balance test because the door opens fine. A door can open smoothly while the opener is doing all the heavy lifting of a failed spring. The balance test is the only way to know. Test balance with the opener disconnected, every single pass.
- Ignoring the bottom seal because it looks fine from the side. The corners wear first. Squat down and look at the seal from the outside with the door closed. If there is light under the corners, the seal is done.
- Testing the auto-reverse without an obstruction. Some homeowners test the photo eyes only and think the safety system works. The auto-reverse test with a solid object is the one that matters. A door that does not reverse on contact can cause serious injury, especially to a small child or pet.
- Trying to adjust spring tension as a DIY project. Torsion springs carry enormous stored energy in Evergreen’s mild climate just as they do anywhere else. Every year, homeowners are injured attempting spring adjustment with the wrong tools. If the balance test fails, call a professional. This is not a gray area.
- Doing the maintenance pass in a hurry. A rushed pass means skipped steps. If you have 40 minutes, you can do this right. If you have 15, do not try. Half the sequence done poorly gives you false confidence.
When to Call a Professional
You should call a professional for three situations: a broken or rusted spring, a door that fails the balance test, or a cable that shows any damage. Cables under tension are dangerous to handle without experience and tools, and spring replacement is never a DIY job. If your door makes a sharp cracking sound, if a cable is unraveling, or if the door feels unusually heavy when disconnected from the opener, stop using it and call. If the auto-reverse test fails, do not wait. A door that does not reverse is a hazard that could hurt someone in the time it takes to schedule a repair. Ashton Garage Door Repair offers free estimates in Evergreen and we service doors and openers from Clopay, Amarr, Wayne Dalton, Raynor, LiftMaster, Chamberlain, Genie, and Craftsman. Call (833) 400-0995. We answer 24/7. Fast dispatch from 7am to 7pm, Sunday through Friday. We will tell you whether repair or replacement actually makes sense.
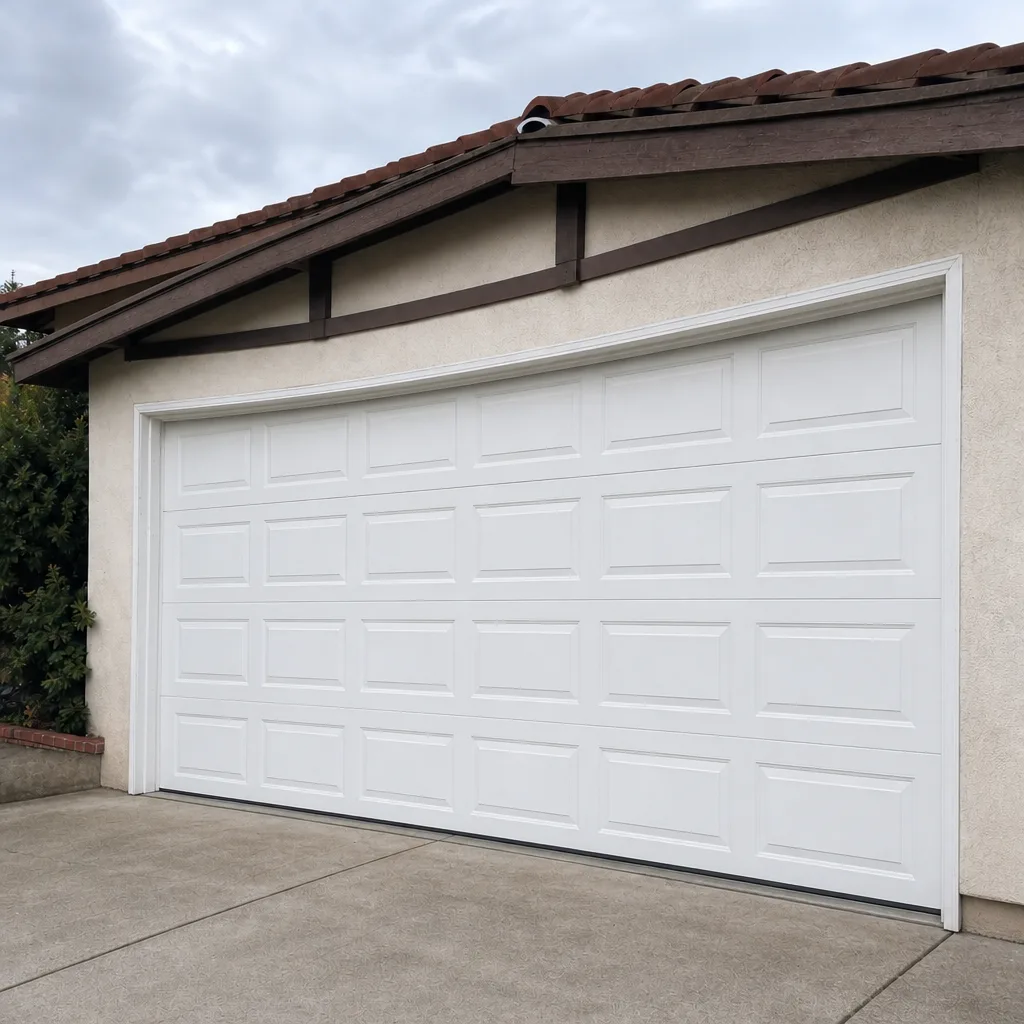
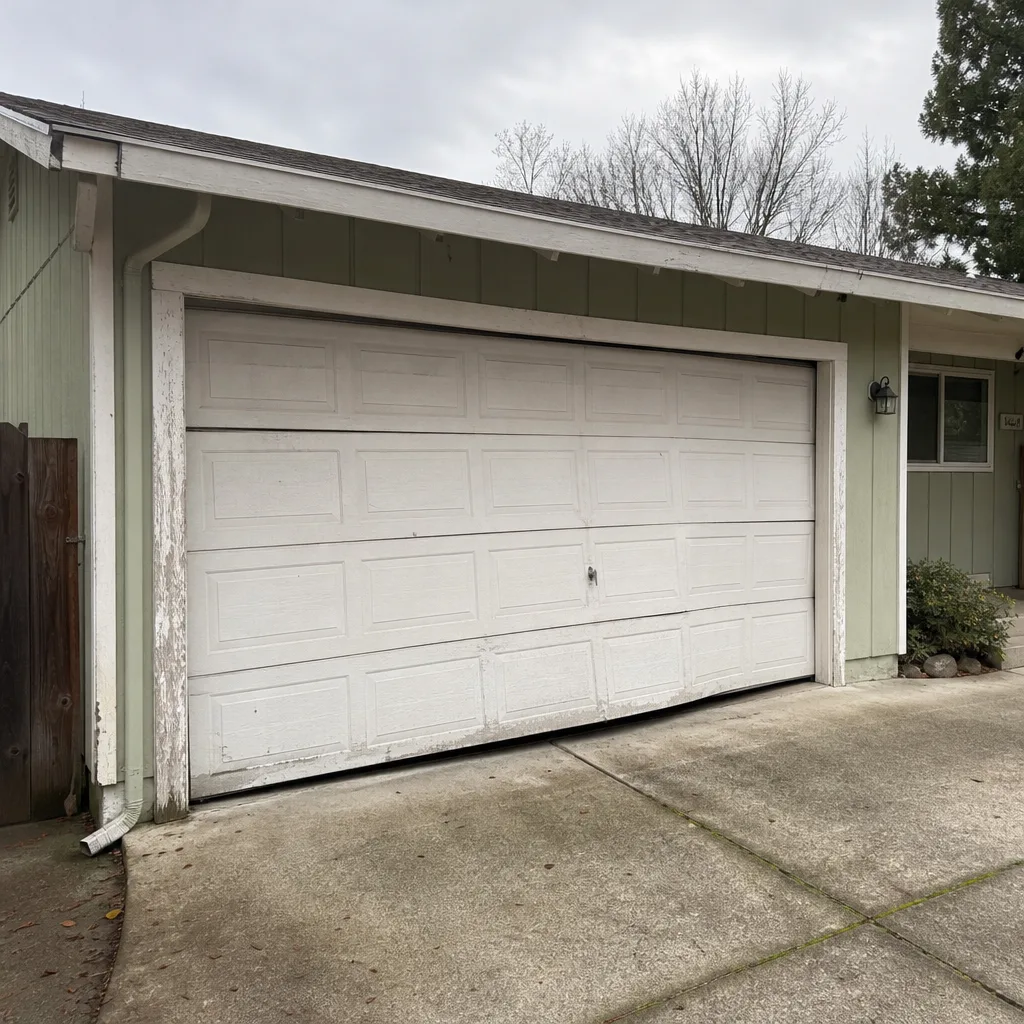
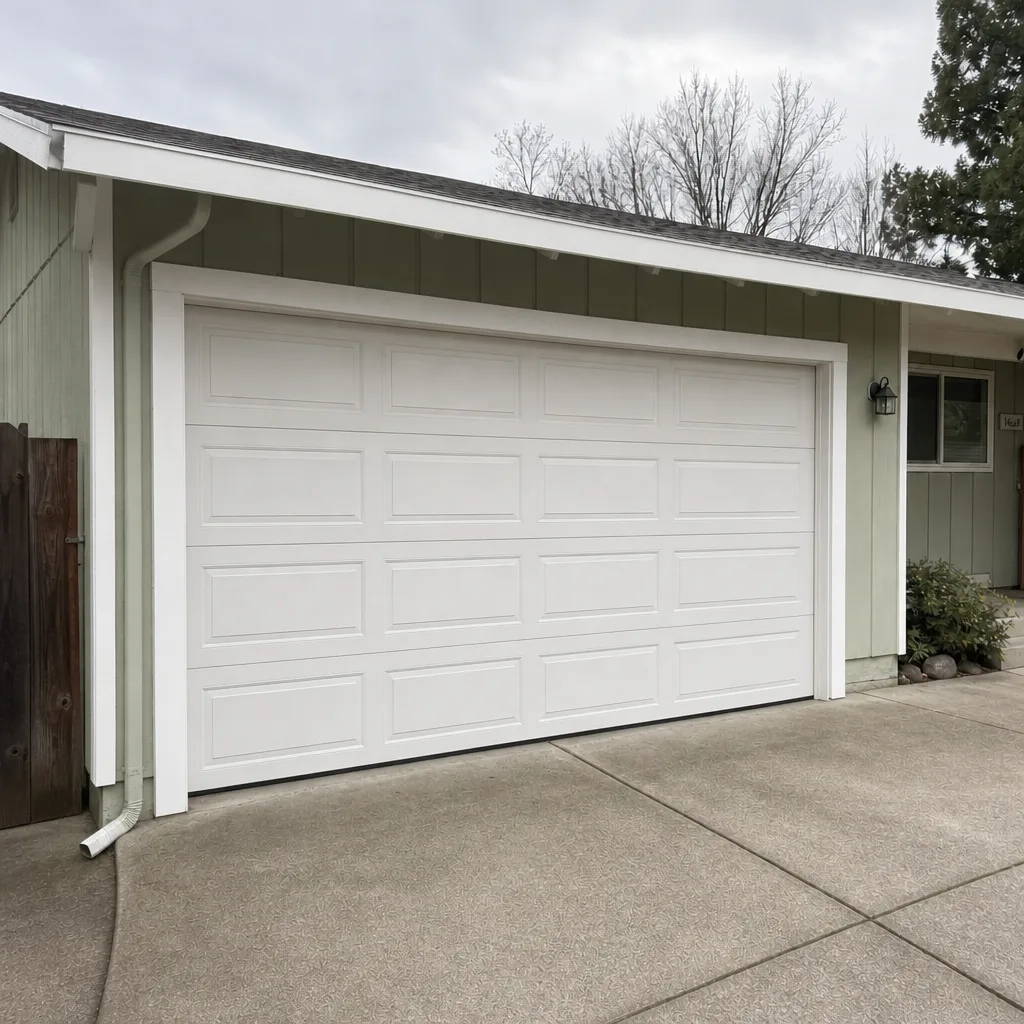
See the difference
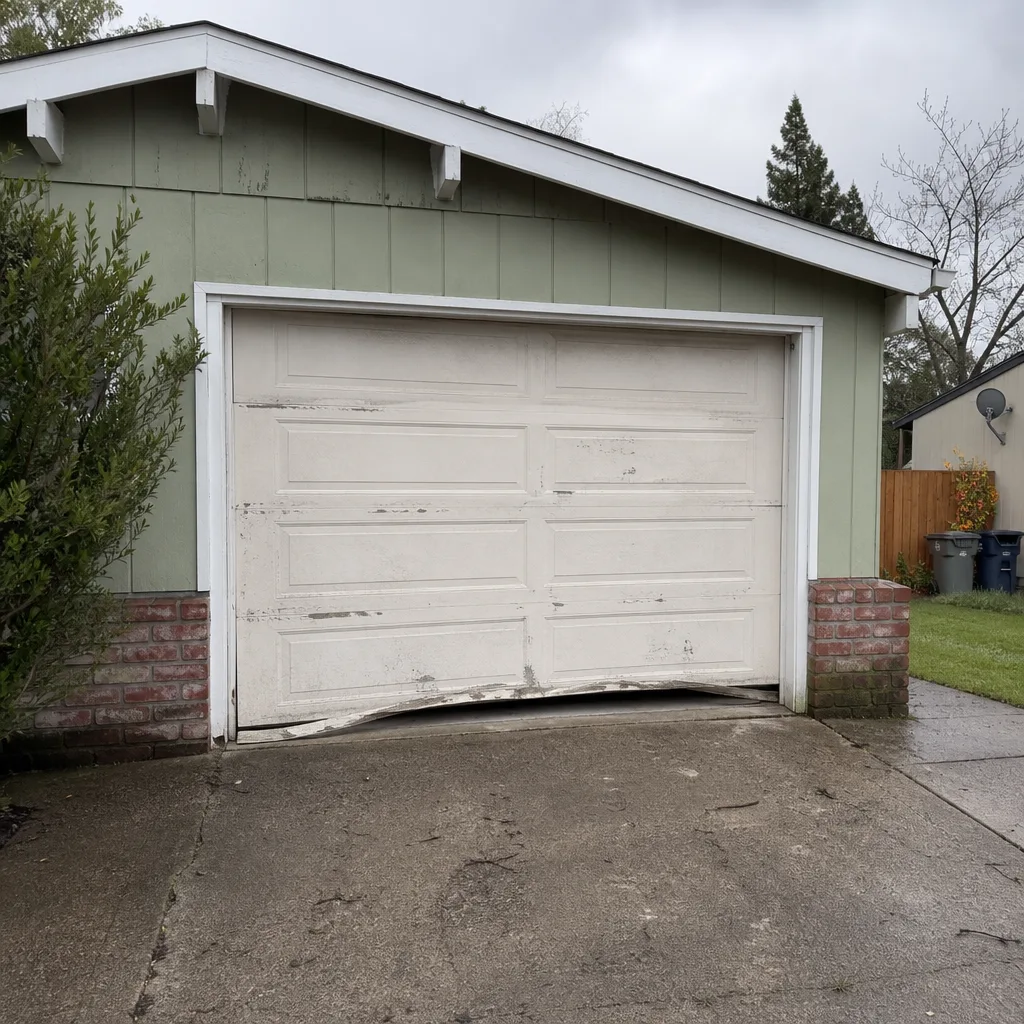 Before
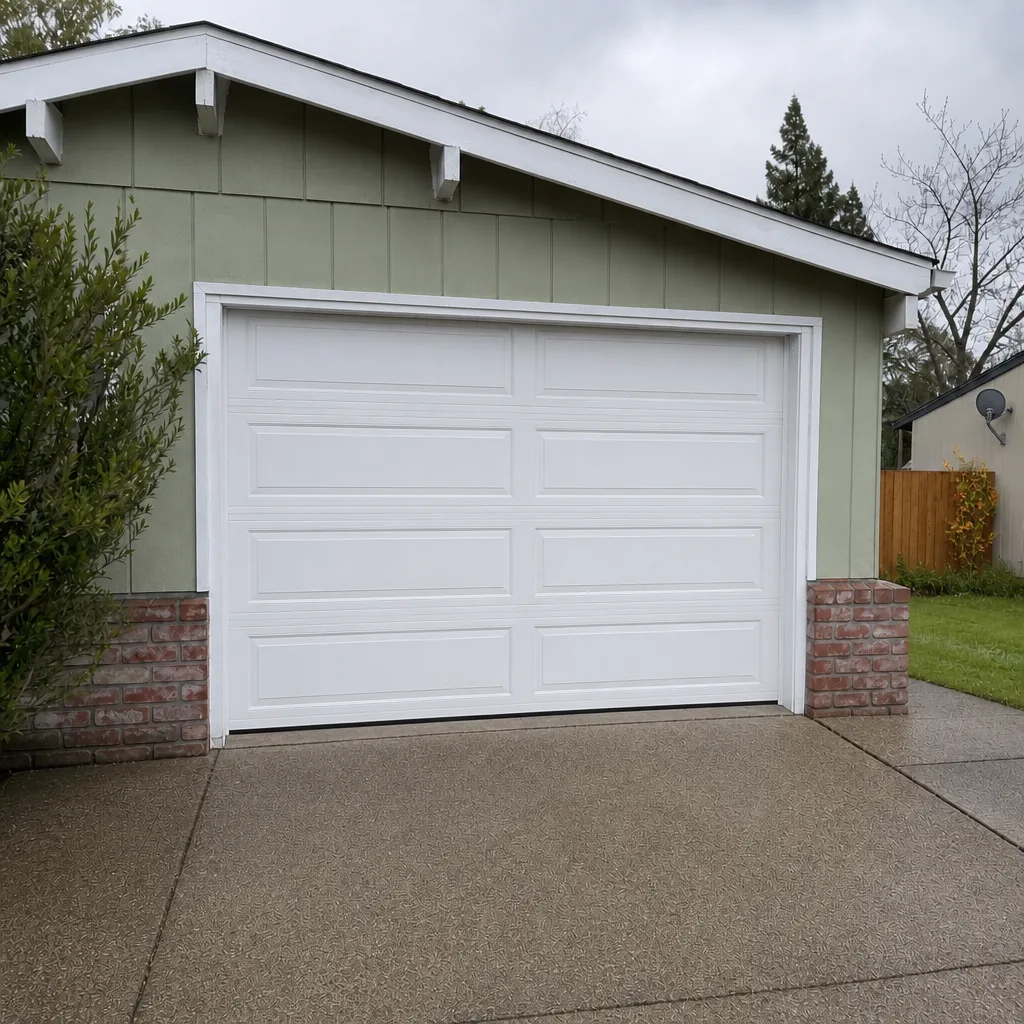 After
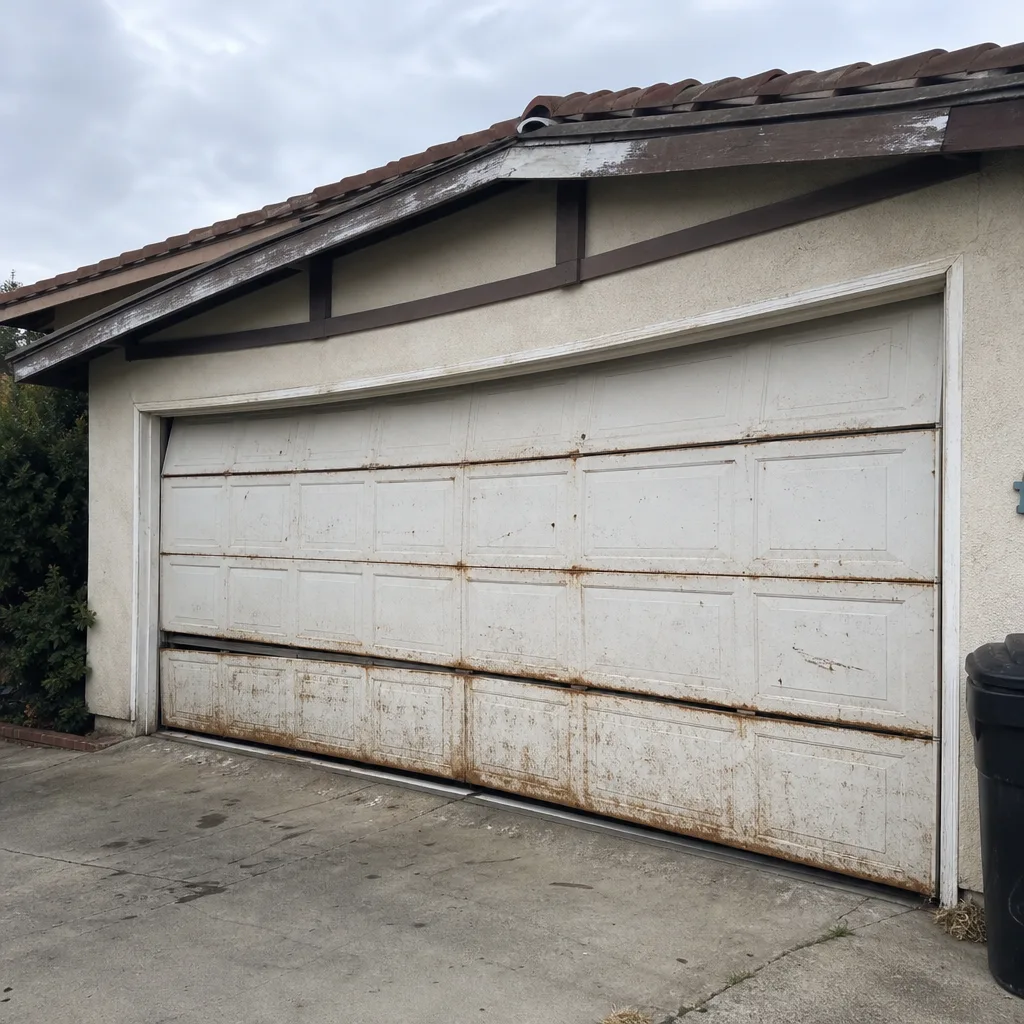 Before
 After
 Before
 After
Frequently Asked Questions
Twice a year is the right schedule for Evergreen. Run the full sequence once in early October before overnight temperatures drop below 50°F, and again in late March or early April. Garage doors cycle roughly 1,400 times per year, and twice-yearly maintenance catches wear before it becomes a failure. Call (833) 400-0995 if you need a professional tune-up instead.
The correct order is inspect and correct alignment, tighten hardware, test balance with the opener disconnected, lubricate moving parts, and then test the opener and safety systems. Lubricating before inspecting masks wear and can hide a failing spring. This sequence should take under an hour once you have done it a few times.
Maintenance catches spring wear early so you can replace a spring before it breaks, but it does not extend the cycle life rating of the spring itself. Torsion springs have a finite life, usually 10,000 to 20,000 cycles. In our experience in Evergreen, a door used four times a day reaches that rating in about seven to fourteen years. The benefit of maintenance is scheduled replacement, not surprise failure.
No. WD-40 is a water displacer and cleaner, not a spring lubricant. It evaporates and leaves the metal drier than before. Use a silicone-based spray on torsion and extension springs, hinge pivots, and roller bearings. Use white lithium grease on the opener rail only. Do not use white lithium on springs; it attracts abrasive dust.
For most Evergreen homeowners, the complete sequence takes 40 to 60 minutes. The first time through takes an hour as you learn where every part is. The routine covers visual inspection, hardware tightening, a balance test, lubrication, opener safety checks, and weather seal inspection. If the balance test fails or you find a damaged cable, stop and call a professional.
Yes. Tie your maintenance passes to the daylight saving time changes in March and November, the same habit pattern used for smoke detector battery checks. When you change the clocks, run the maintenance sequence. A recurring calendar reminder on the second Sunday in March and first Sunday in November keeps the schedule consistent. For a professional tune-up in Evergreen, call (833) 400-0995. Estimates are free.
The Bottom Line
A garage door maintenance schedule is useful only if the sequence is right. Inspect and correct before lubricating, tighten before testing, and run the full routine twice a year tied to the clock changes. The five components most people skip, the bottom seal, roller stems, cable drums, trolley carriage, and weather stripping ends, are also the ones that cause the most expensive failures. Use silicone spray on moving door parts and white lithium only on the opener rail. If the balance test fails, do not lubricate and walk away; that is the signal to call a professional. A disciplined hour twice a year keeps a garage door from becoming an emergency.
Written by the team at Ashton Garage Door Repair, serving Evergreen since 2013.