
Last updated November 4, 2026
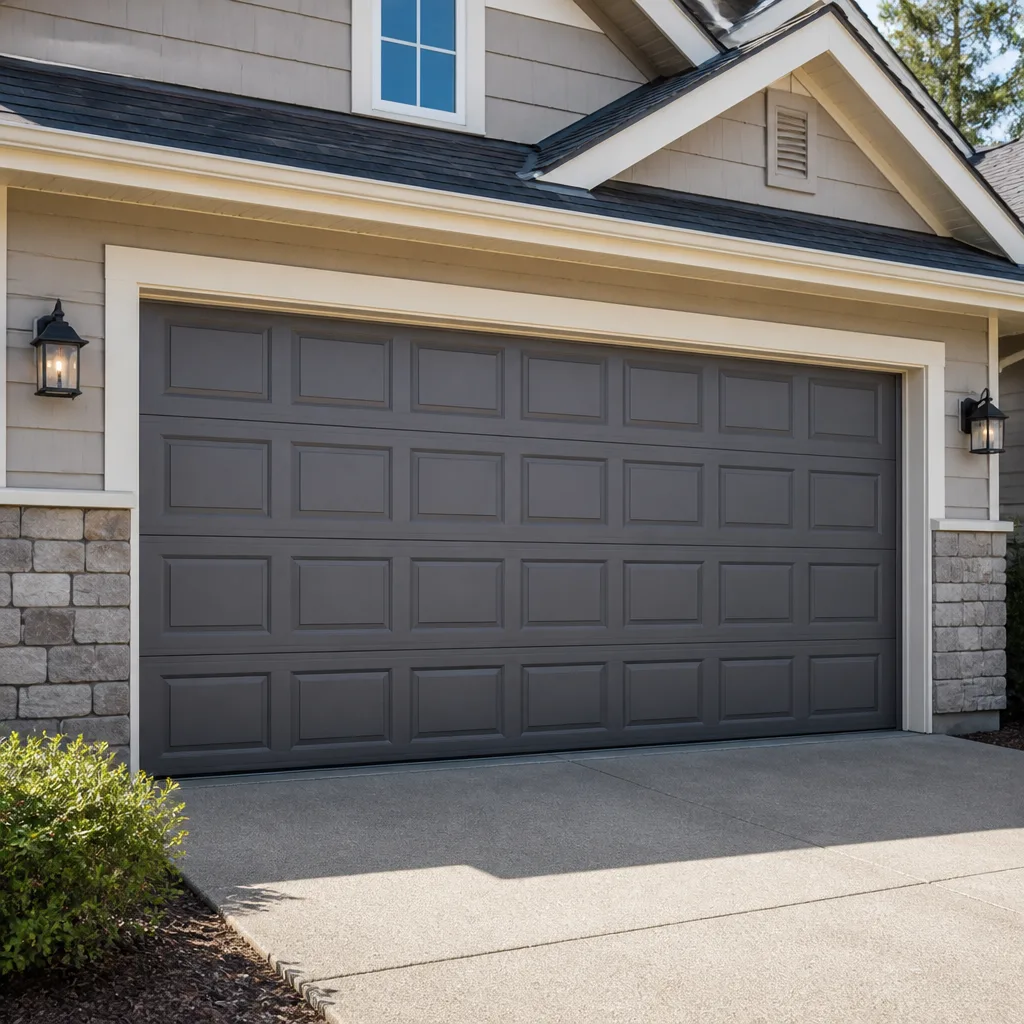 Raised-panel steel
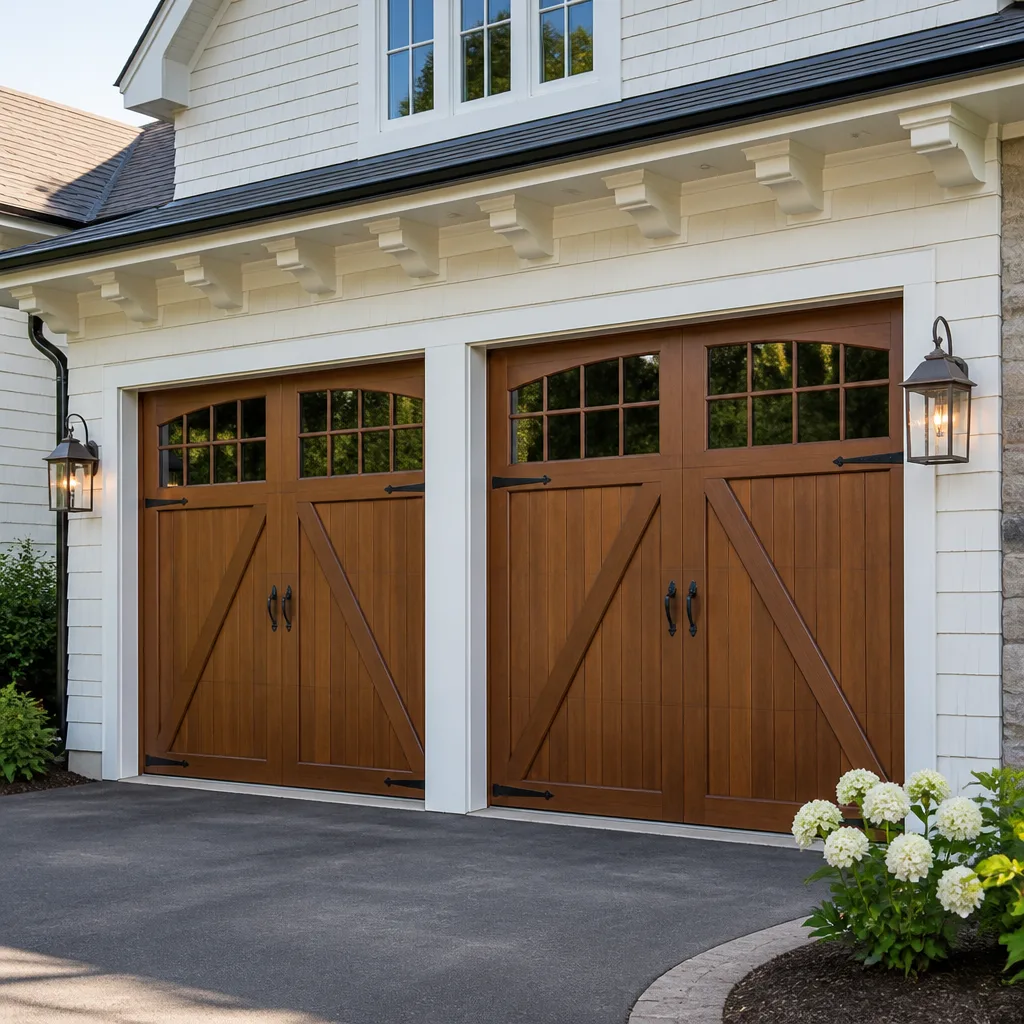 Carriage house
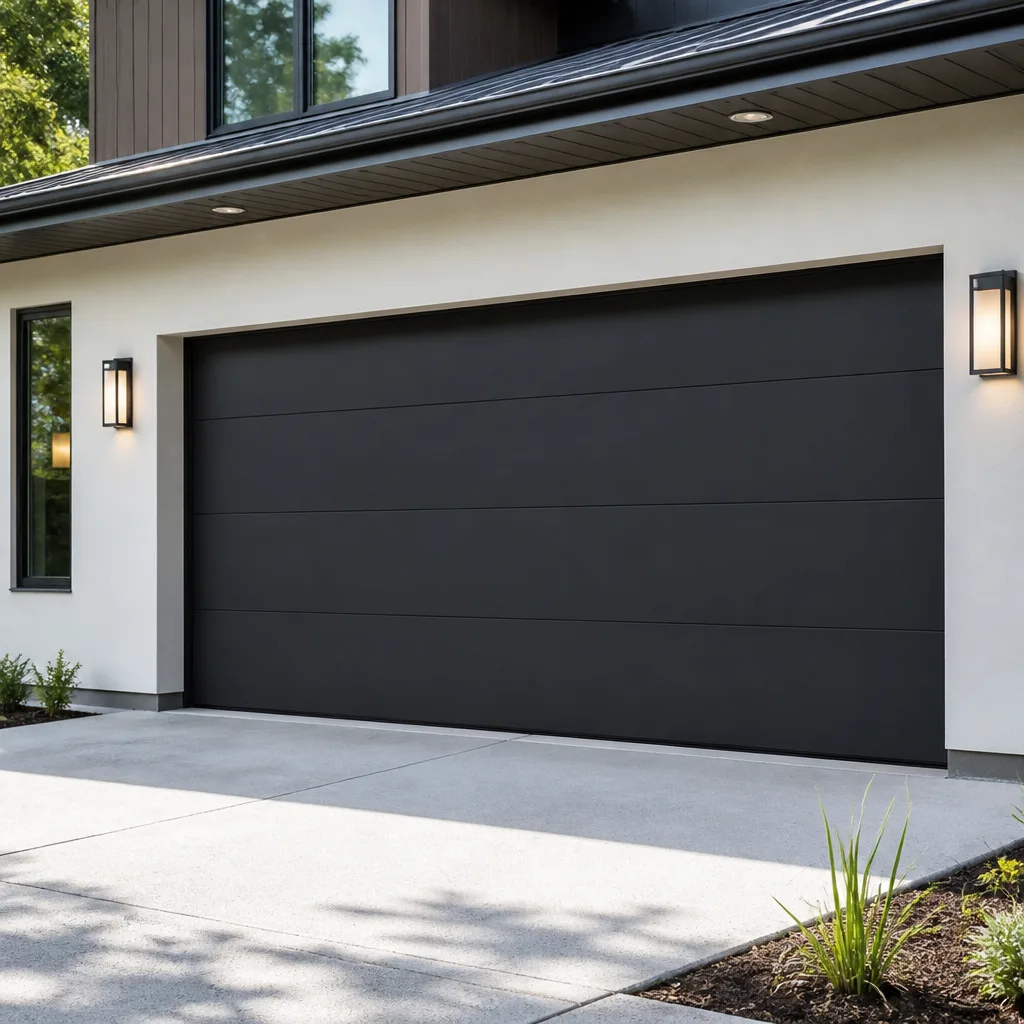 Modern flush
 Full-view glass
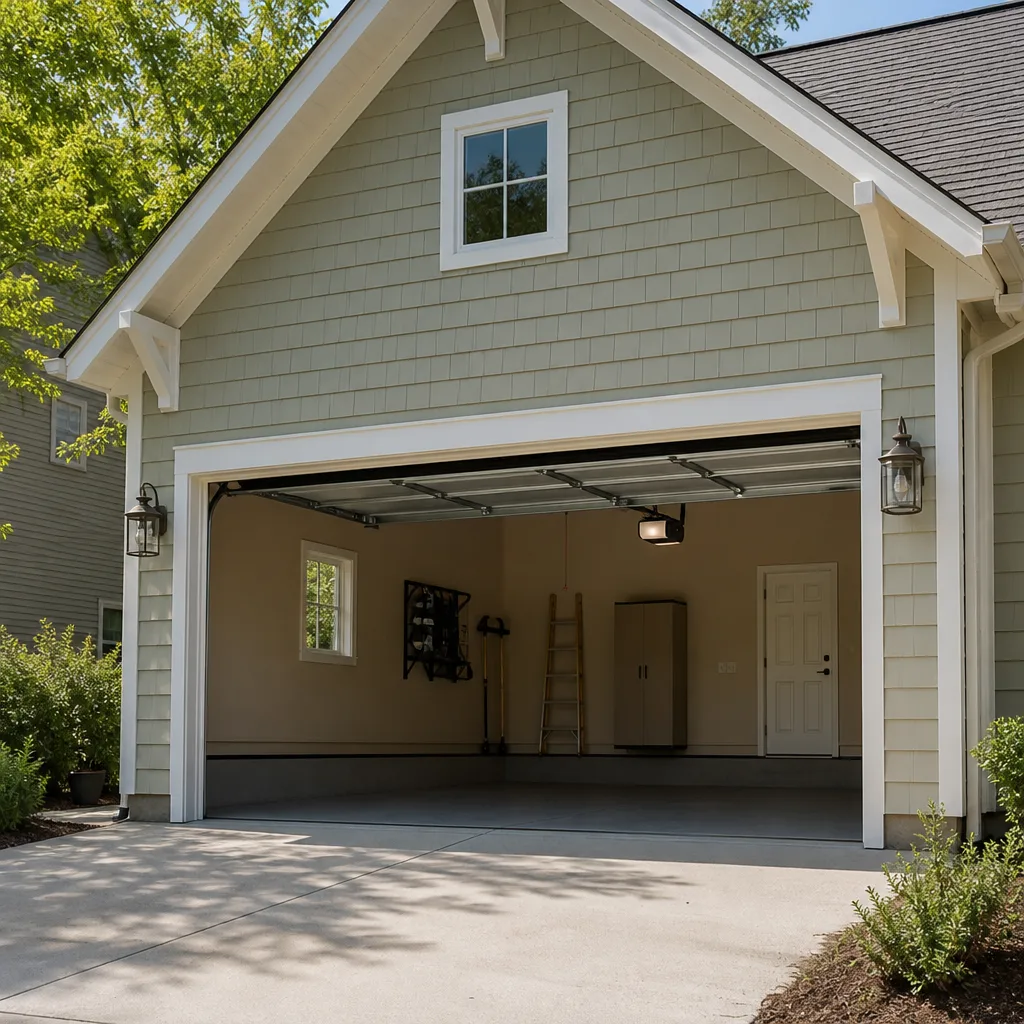 LiftMaster openers
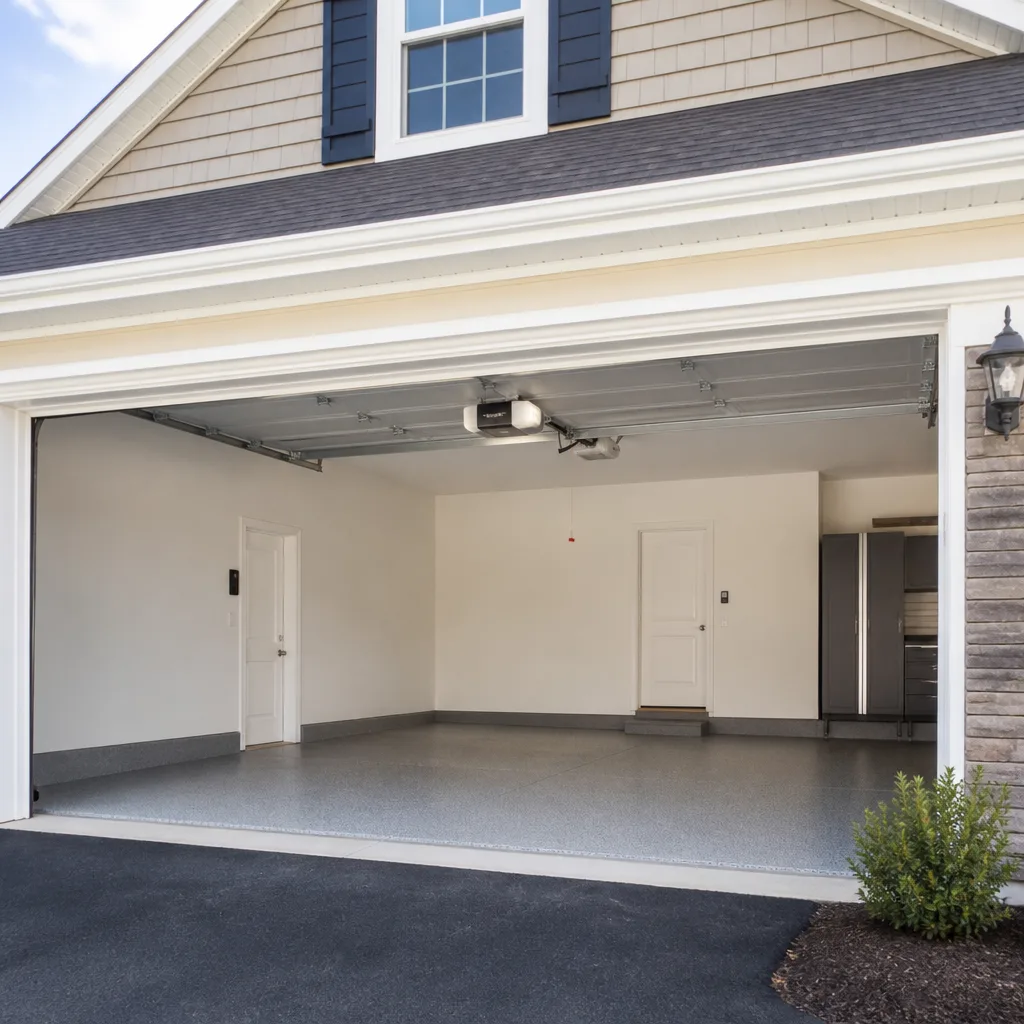 Chamberlain openers
Full 25-point door and opener safety check with every visit - springs, cables, rollers, tracks, and your LiftMaster or Chamberlain opener included
You get a price before we start. It does not change when the truck arrives.
Get your free estimateDIY vs Professional Garage Door: The Evergreen Homeowner’s Decision Guide
Torsion springs store enough energy to cause serious injury when released unexpectedly. That’s not a liability disclaimer, it’s physics. But replacing a bottom weatherstripping seal is a twenty-minute job any homeowner in Evergreen can do with a screwdriver. The problem is that most guides treat all garage door work the same way, and that flat approach is exactly what gets people hurt or overcharged. This guide draws the line precisely, so you know which tasks are genuinely safe for a Saturday afternoon and which ones need a trained technician with the right winding bars and the right insurance.
Styles & brands we work with
- Raised-panel steel
- Carriage house
- Modern flush
- Full-view glass
- LiftMaster openers
- Chamberlain openers
Quick Answer
Most garage door maintenance tasks are safe for homeowners, but torsion spring replacement, cable work, and track realignment belong in the professional-only column because the injury risk scales with inexperience. In Evergreen, a homeowner with basic hand tools can replace weatherstripping, tighten visible hardware, lubricate moving parts, and reprogram or replace remotes. Anything involving the springs, cables, or opener logic board should go to a specialist like Ashton Garage Door Repair.
Table of Contents
- The Three-Tier Task List
- Safe DIY Tasks: What You Can Do This Weekend
- DIY With Precautions: Borderline Jobs
- Professional-Only: Work That Carries Injury Risk
- Tools You Already Own (And the One You Don’t)
- The Real Cost Math of DIY Opener Installation
- How to Describe a Partial Repair to a Technician
- Common Mistakes to Avoid
- When to Call a Professional
- Frequently Asked Questions
- The Bottom Line
The Three-Tier Task List
The entire garage door DIY conversation collapses into one question: does this task put me in the path of stored energy? If the answer is yes, it’s professional work. If the answer is no, you can probably handle it with tools you already own. We’ve organized every common garage door task into three tiers, because that’s how a homeowner in Evergreen actually makes a decision: not by skill level, but by consequence.
Tier 1: Safe DIY (No Stored Energy Involved)
- Replacing the bottom weather seal or weatherstripping
- Lubricating hinges, rollers, and the opener chain or screw drive
- Tightening visible bolts and screws on the door panels and track brackets
- Replacing remote control batteries or reprogramming a working remote
- Cleaning and aligning the safety sensors (when the door is down and disconnected)
- Washing the door surface and inspecting for visible rust or dents
Tier 2: DIY With Precautions (Low Risk, But Respect the Machine)
- Adjusting an opener’s force settings or travel limits (unplug first, use the manual)
- Replacing a burned-out opener light bulb or a wall console
- Installing a keypad outside the garage (low voltage, but requires programming)
- Removing and painting a single panel when it has surface rust
- Replacing the door’s rubber side seals or a hinge that shows no crack
Tier 3: Professional-Only (Stored Energy or Structural Weight)
- Torsion spring repair or replacement (the spring is under tension at all times)
- Extension spring replacement on older doors (these also store and release energy)
- Cable repair or re-spooling (a snapped cable often means a broken spring)
- Track realignment or replacement (the door’s full weight rides on it)
- Opener motor replacement or logic board repair (high voltage, plus programming)
- Full door replacement (weight, balance, and precise installation matter)
This list is not about protecting trade secrets. It’s about physics. A garage door weighs somewhere from 130 to 400 pounds depending on material and size, and the springs do the real lifting. Removing a spring without the correct winding bars is the single most dangerous thing a homeowner attempts in a garage.
Safe DIY Tasks: What You Can Do This Weekend
Most Evergreen homes have attached garages that double as storage, a workshop, or a second entry. Keeping the door healthy does not require a service call every time something squeaks. These tasks take under an hour and use tools most people already have: a socket set, a screwdriver, a step ladder, and a can of white lithium grease.
Lubrication. A noisy garage door is usually a dry one. Apply white lithium grease to the hinges, roller bearings, and the torsion spring itself. Do not use WD-40: it cleans, but it doesn’t lubricate. A silicone spray works better on the track, and a light coat once a year is enough in our mild climate. Evergreen doesn’t get the extreme cold that hardens grease, so once a year really is plenty.
Weatherstripping. The rubber strip along the bottom of the door cracks over time from UV exposure and simple age. Replacing it takes about twenty minutes. Slide out the old strip, measure the width, cut the new one to length with a utility knife, and slide it back into the channel. No special tools, no springs, no risk.
Sensor cleaning. If the door reverses for no reason, the safety sensors near the floor may have dust or a cobweb blocking the beam. Wipe both lenses with a dry cloth. While you’re there, check that the small indicator lights are on and steady. A flickering light usually means a misaligned bracket, which is also a quick adjustment with a screwdriver when the opener is unplugged.
Hardware tightening. Every open-close cycle vibrates the nuts and bolts on the door. Walk around the door with a socket set and snug up the bolts at the hinges, the track brackets, and the opener rail. But here’s the line: if a bolt is on a bracket that holds a cable, or if the bolt touches a spring, leave it alone and call garage door repair.
DIY With Precautions: Borderline Jobs
These jobs are possible for a careful homeowner, but they carry a real “don’t do this after dinner” warning. The common thread is that they involve the opener’s electronics or the door’s balance, which means a mistake is either annoying to fix or dangerous to ignore.
Adjusting the opener settings. Every opener has two adjustment points: the force dial and the travel limit. If the door doesn’t close all the way, or reverses when it hits the ground, a small turn of the limit screw is usually the fix. But you must unplug the opener first. The wall buttons and remotes are low voltage, but the opener itself is not. The manual for a Genie or LiftMaster opener walks you through this in clear steps, and we recommend reading it before touching anything.
Installing a keypad. A wireless keypad outside the door is a convenience, not a risk. The catch is programming: each opener talks to accessories differently. A Chamberlain keypad doesn’t pair with a Genie opener without the right sequence. If programming fails twice, you’re not stupid; the compatibility chart is just unforgiving. That’s a moment to hand it to a technician rather than reset the opener’s memory and lose the remotes that are already paired.
Replacing a hinge. Door hinges come in numbered sizes, and the number matters. Each hinge has a different rise that follows the contour of the track. A homeowner who replaces a #1 hinge with a #2 hinge creates a wobble, and that wobble wears out the other hinges faster. If you know the number, the job is simple. If you don’t, check for a stamped number before unbolting anything.
Painting a panel. Surface rust on a steel door is a cosmetic issue until it isn’t. Sanding and painting one panel is fine; the door stays fully assembled. What you should not do is remove the panel to paint it. Removing a panel means detaching it from the hinges that connect it to the next panel, and that requires the spring tension to be exactly right or the door will bind.
Professional-Only: Work That Carries Injury Risk
We’ve seen the aftermath of a torsion spring that let go, and it isn’t something a homeowner should ever witness. Torsion springs live on a bar above the door, and they are never not under tension. Even a brand-new-looking spring with zero visible damage holds enough stored energy to fire a winding bar across a two-car garage. That’s not an exaggeration for liability; it’s the reason winding bars are two feet long and made of solid steel.
Springs. A torsion spring has a finite life, usually measured in cycles, not years. When it breaks, it sounds like a gunshot. The door becomes dead weight, and the opener, if engaged, will strain against a door it was never meant to lift alone. Spring replacement is the single most common professional service we field, and it is never a safe DIY job. YouTube tutorials make it look calm. What a video can’t show you is what it feels like to hold a bar against 100 to 200 pounds of torque with your hand in the wrong position.
Cables. The cables are connected to the springs, not just the door. When a cable snaps, it’s because the spring broke or because the door was never re-balanced after a repair. A homeowner who removes a cable without releasing the spring tension first is pulling on a live wire. If a cable is frayed or off the drum, leave the door alone and call garage door opener repair.
Track work. The track is the door’s road. When a track is bent, the rollers bind, and the opener motor burns out trying to push through resistance. Straightening a track with a hammer or channel-lock pliers is a common DIY attempt that makes the problem worse in a way we can always spot: the track ends up flared at the spot where the roller exits, and the door pops out. Track replacement is measured work, not a force-based fix.
Opener logic boards. The mechanical parts of an opener are replaceable, but the logic board is the brain, and it lives behind the cover. Homeowners don’t open covers on openers. The capacitor inside can hold a charge even after the unit is unplugged. A technician with opener experience, which for us includes the full Evergreen service area, handles this with the right discharge procedure and, more importantly, knows which board revision belongs in which model year. A LiftMaster board from 2014 isn’t interchangeable with a 2019 board even if the connector looks the same.
Tools You Already Own (And the One You Don’t)
A homeowner in Evergreen doesn’t need a professional tool chest to do the safe tier of garage door work. Here’s what’s needed, and what’s not enough.
You probably already own:
- A 3/8-inch socket set with a ratchet (for tightening hinge and track bolts)
- A set of flathead and Phillips screwdrivers (for the weather seal and sensor brackets)
- A utility knife (for cutting weatherstripping to length)
- A can of white lithium grease or silicone spray (for lubrication)
- A sturdy step ladder (for reaching the opener rail safely)
- A small level (for confirming the sensor brackets are straight)
The one tool you almost certainly don’t own:
A set of professional winding bars. These are not the same as a long screwdriver or a pair of rebar stakes, and using a substitute is a fast way to break a wrist. Winding bars are hardened steel rods, sold in pairs, sized to fit exactly into the winding collar of a torsion spring. They’re not expensive, but owning them doesn’t make spring work safe; it just makes the eventual mistake more confident. We never sell these to a homeowner who asks, because the correct answer is always to let a trained technician do the spring. The bar in the wrong hands is the tool equivalent of a live round.
One more note on tools: a cordless impact driver is great for tightening bolts, but it will strip small hinge bolts fast. A calm hand with a ratchet is better than a fast hand with an impact on garage door hardware.
The Real Cost Math of DIY Opener Installation
Opener installation is a tempting DIY job because the big-box price tag on the opener itself looks like the whole job. It isn’t. Here’s what an Evergreen homeowner actually spends when they install their own garage door opener, compared to a professional installation.
Step 1: The opener. A decent belt-drive Chamberlain or LiftMaster from a retailer runs somewhere between $200 and $400 depending on features. You’ll also need a few extras that don’t come in the box: a new outlet if the ceiling doesn’t have one near the head, or a longer power cord. Call that $20 to $80.
Step 2: The time. A first-time installer should plan for three to five hours. That’s not a knock on your ability; it’s the honest pace of reading instructions, finding a stud, adjusting the rail length, and re-doing the wiring because the wall button and the sensor wires go through the same conduit. A professional installs two to three openers a week and takes 45 to 90 minutes.
Step 3: The learning curve and the correction call. This is the part most DIY cost breakdowns leave out. When the opener doesn’t close, or the force setting knocks the door back up, or the Wi-Fi won’t pair because the app wants a 2.4 GHz network and the router broadcasts on 5 GHz only, a homeowner starts making phone calls. That’s when a DIY job turns into a professional visit, and the professional now has to diagnose both the machine and the previous attempt.
Step 4: The real price of dissatisfaction. A professional installation of an opener typically costs less than the opener itself plus the value of a full day and a correction call. In Evergreen, where many homes have direct-drive or belt-drive units that predate smart-home pairing, the installation also includes the programming and safety-reversal testing that a homeowner simply won’t do on their own. The written price we give covers the work as scoped, and the estimate is free. If the math ever starts to look like a wash, the professional wins because the safety reversal actually gets tested.
How to Describe a Partial Repair to a Technician
If you’ve already started a door repair and hit a wall, the technician arriving at your Evergreen home needs five pieces of information that most homeowners forget to mention. These make the difference between a one-visit fix and a “we’ll have to order a part” second visit.
- What you already touched. Be specific about which bolts you removed and which parts you adjusted. If you loosened a bracket and re-tightened it, say so. It sounds small, but a half-turn on the wrong bolt changes the track alignment by enough to bind a roller.
- Whether the door made a loud noise before or during the attempt. A “gunshot” sound means a spring broke and the whole job changed. A grinding sound means a roller or a bearing is on its way out. The sound matters more than the time of day it happened.
- The brand and approximate age of the opener. We service all eight of the major opener brands, and the parts for a Chamberlain from 2016 are different from a Genie from 2020 even though the buttons look the same. If you know the model, say it. If you don’t, a photo of the opener’s motor housing is enough.
- What the door does now that it didn’t do before. Not just “it’s stuck,” but whether it goes up a foot and stops, whether it closes and immediately reverses, whether the motor runs but the door doesn’t move. These behaviors point to different failures.
- Whether the door was already off-balance before you started. A door that was heavy at the halfway point was already telling you a spring was weak. The failed DIY project was not the cause; it just revealed the underlying issue. When we show up, that piece of information saves a full diagnostic pass.
When a homeowner walks us through these five things, we can usually diagnose the problem before we back the truck in. And the price is agreed before any work starts.
Common Mistakes to Avoid
- Using an impact driver on small hinge bolts. It strips them and leaves the hinge loose, which then wobbles and wears the other hinges in the train.
- Lubricating the track. The rollers don’t ride on a lubricated surface, and grease in the track collects dust and becomes a sticky paste that makes the door slower. Lubricate the hinge pivots and rollers, not the rail.
- Replacing one spring when the other is the same age. Springs are a matched pair, and when one breaks the other is nearly worn out. Replacing only the broken one leaves an unbalanced door and a repeat visit months later.
- Unplugging and replugging the opener to “reset” a recurring problem. A trip to the breaker clears a fault code but not the cause. If the door reverses on the safety sensor and a clean didn’t fix it, the sensor may be sun-damaged and need replacement.
- Buying an opener by horsepower alone. A quiet belt drive and a quiet DC motor are separate things, and a cheap AC motor will be loud no matter what belt it drives. The door’s weight and balance matter more than the motor’s rating.
- Painting the weather seal. Paint makes the rubber stiff, and stiff weatherstripping cracks and lets water and dust in. Replace the seal instead; it’s cheaper than the paint.
- Waiting until the door is completely dead to call. A door that screeches, strains, or starts slowing down is giving you a warning. By the time it stops moving, a simple cable adjustment has become a broken spring and a burned-out opener gear.
When to Call a Professional
Call a professional when the task involves a spring, a cable, a track, or a logic board, and when the door was already acting up before the DIY attempt. Call when the door is heavy to lift by hand, when it closes unevenly, when the opener runs but the door doesn’t move, or when you hear a noise you can’t place. These are the jobs where the cost of a mistake is measured in injuries and days without a working door. We answer the phone at (833) 400-0995 and we’re happy to walk through what you’re seeing. We answer 24/7, and fast dispatch from 7am to 7pm, Sunday through Friday. We’re closed Saturday.
Frequently Asked Questions
You can safely replace the bottom weatherstripping, lubricate the hinges and rollers, tighten visible bolts on the panels and track, clean the safety sensor lenses, and reprogram a working remote. These tasks don’t involve stored energy, and a homeowner with a socket set and a screwdriver can finish any of them in under an hour.
A torsion spring is under constant tension and stores enough energy to cause serious injury when released unexpectedly. Removing it safely requires professional winding bars, a specific technique, and experience with the different wire sizes and diameters. We advise every Evergreen homeowner to treat a broken spring as a professional-only job.
When the opener is over 12 to 15 years old, uses a chain drive on an attached garage wall, or needs a logic board that’s no longer manufactured, replacement usually makes more sense. A technician who works on LiftMaster, Chamberlain, and Genie openers can tell you which parts are still available and whether the repair price is within a few hundred dollars of a new unit.
We answer 24/7. A call outside dispatch hours is booked into the next opening, Sunday through Friday, 7am to 7pm. We’re closed Saturday. Describe what you’ve already removed or adjusted, and we’ll bring the right parts for both the original problem and the partial repair.
No. The written estimate sets the price, and it’s agreed before any work starts. That estimate is free, and it covers the work as scoped. If we find something new during the repair, we stop and tell you before anything else happens.
We service all eight of the most widely installed door and opener brands in North America, including LiftMaster, Chamberlain, Genie, Clopay, Amarr, Wayne Dalton, Craftsman, and Raynor. Your door, your brand, our specialty.
The Bottom Line
The DIY versus professional question for garage doors is not about whether you’re handy. It’s about whether the task puts your hand near stored energy, a live capacitor, or a moving door under tension. Replace weatherstripping, lubricate moving parts, tighten hardware, and clean sensors on your own. Leave springs, cables, track work, and opener internals to someone who does this every day. In Evergreen, that line between safe and dangerous is clear, and it’s the difference between a quick fix and a long recovery. When the job crosses that line, call Ashton Garage Door Repair. We’ll tell you whether repair or replacement actually makes sense, and the price is set before any work begins.
Written by the team at Ashton Garage Door Repair, serving Evergreen since 2013.
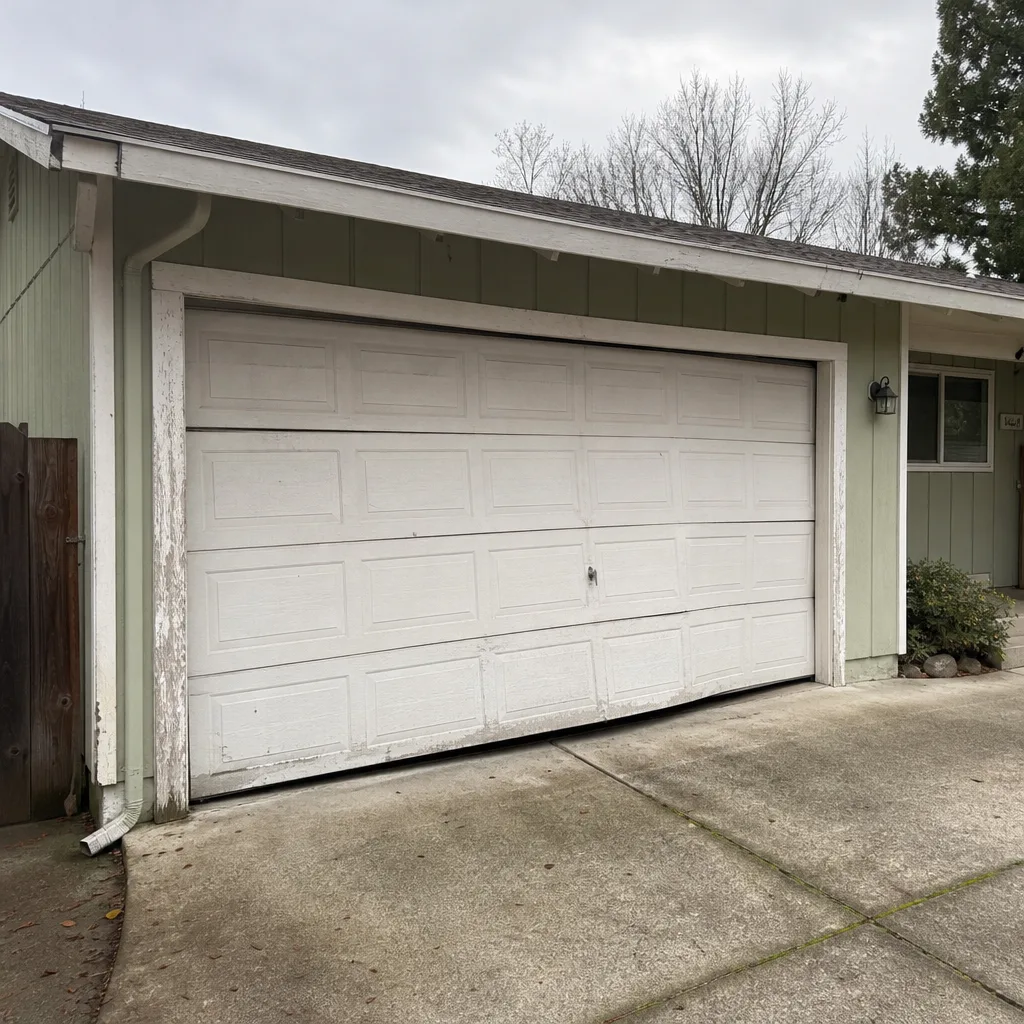
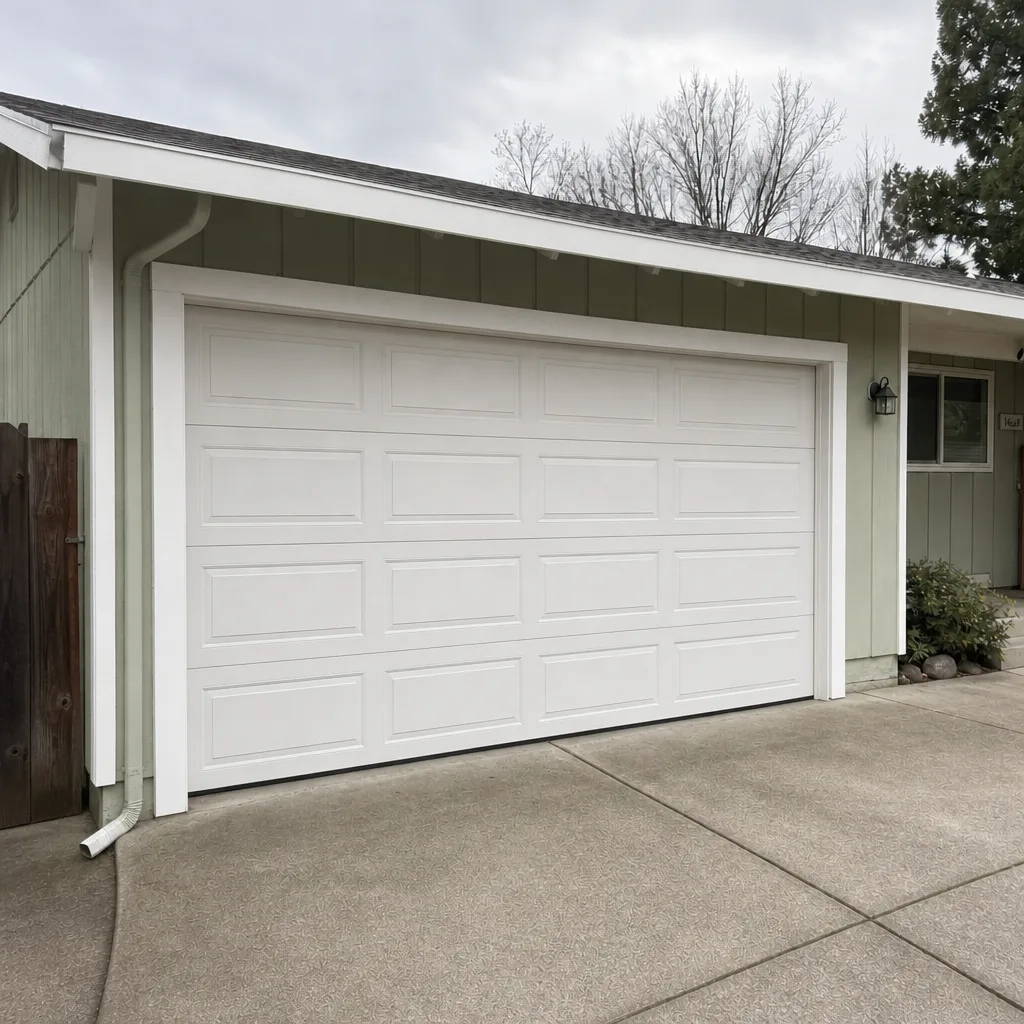
See the difference
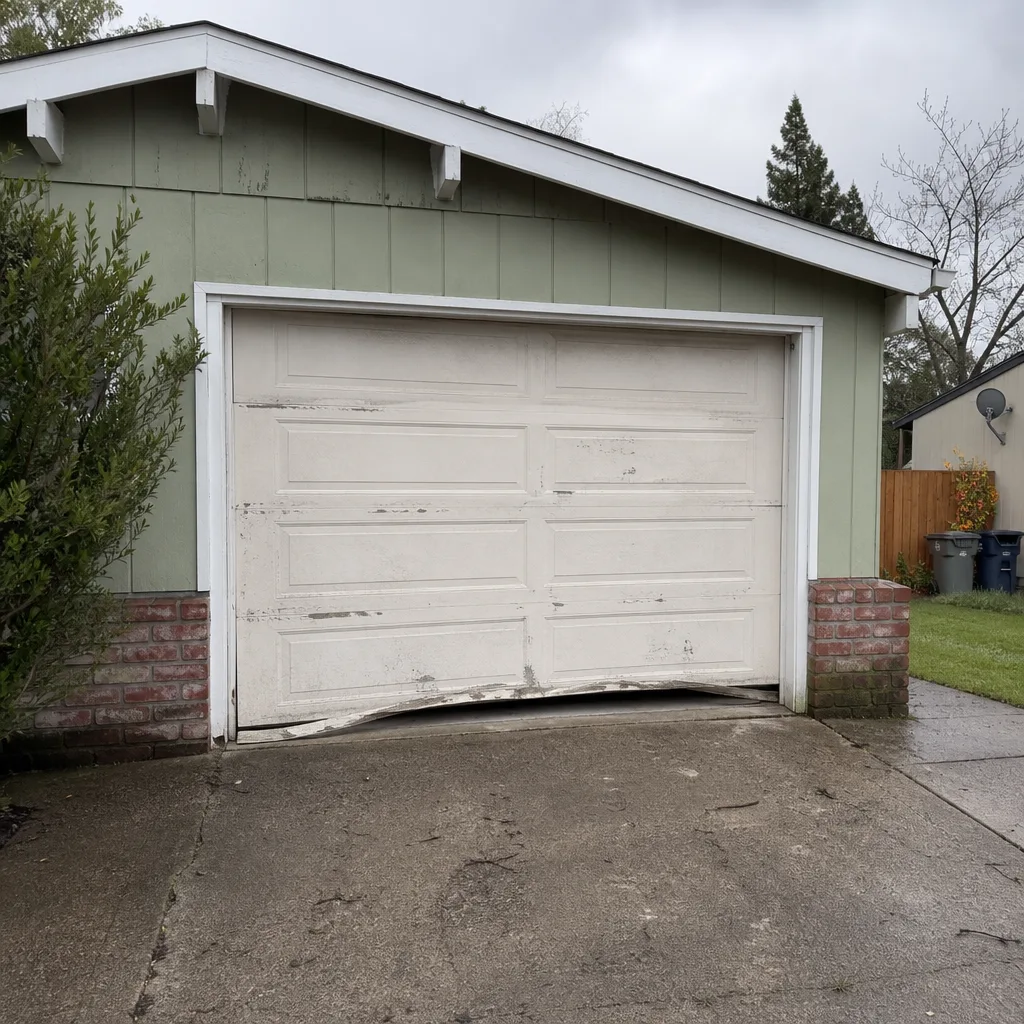 Before
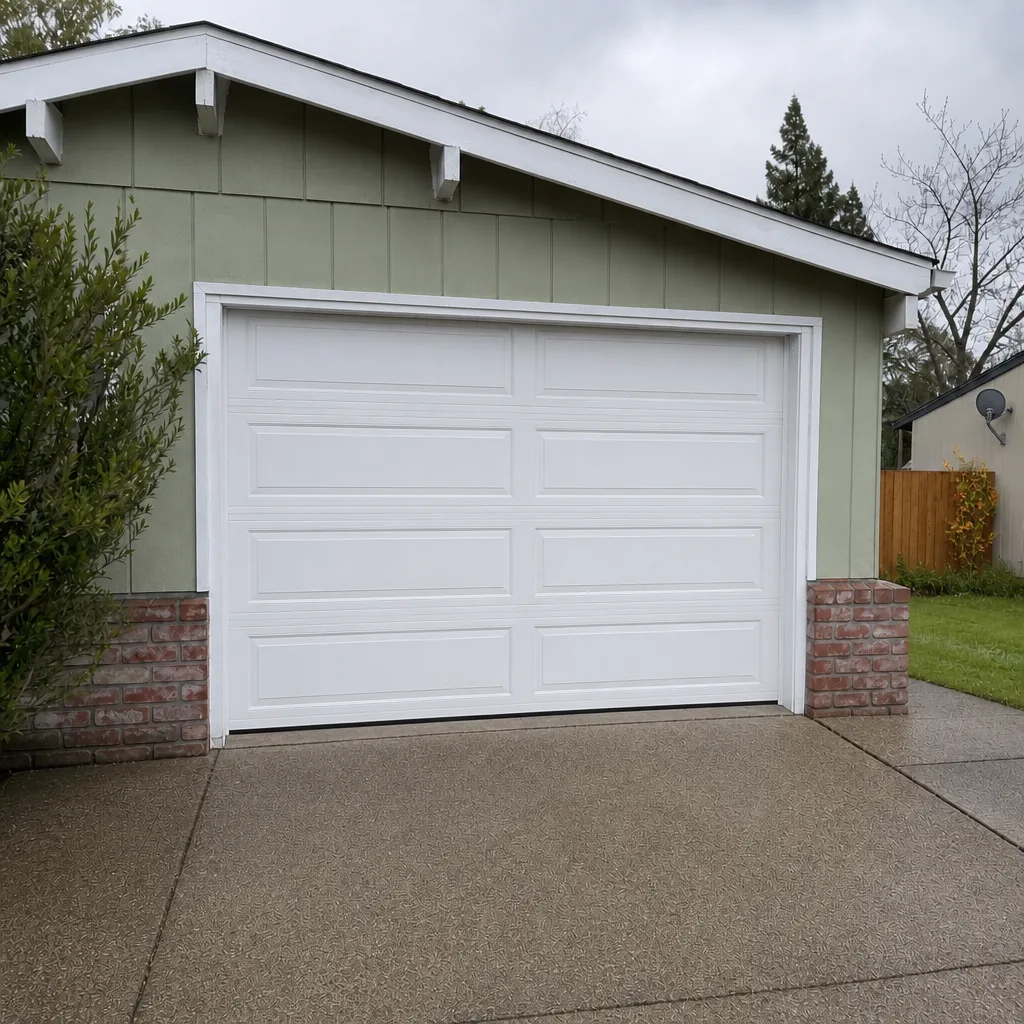 After
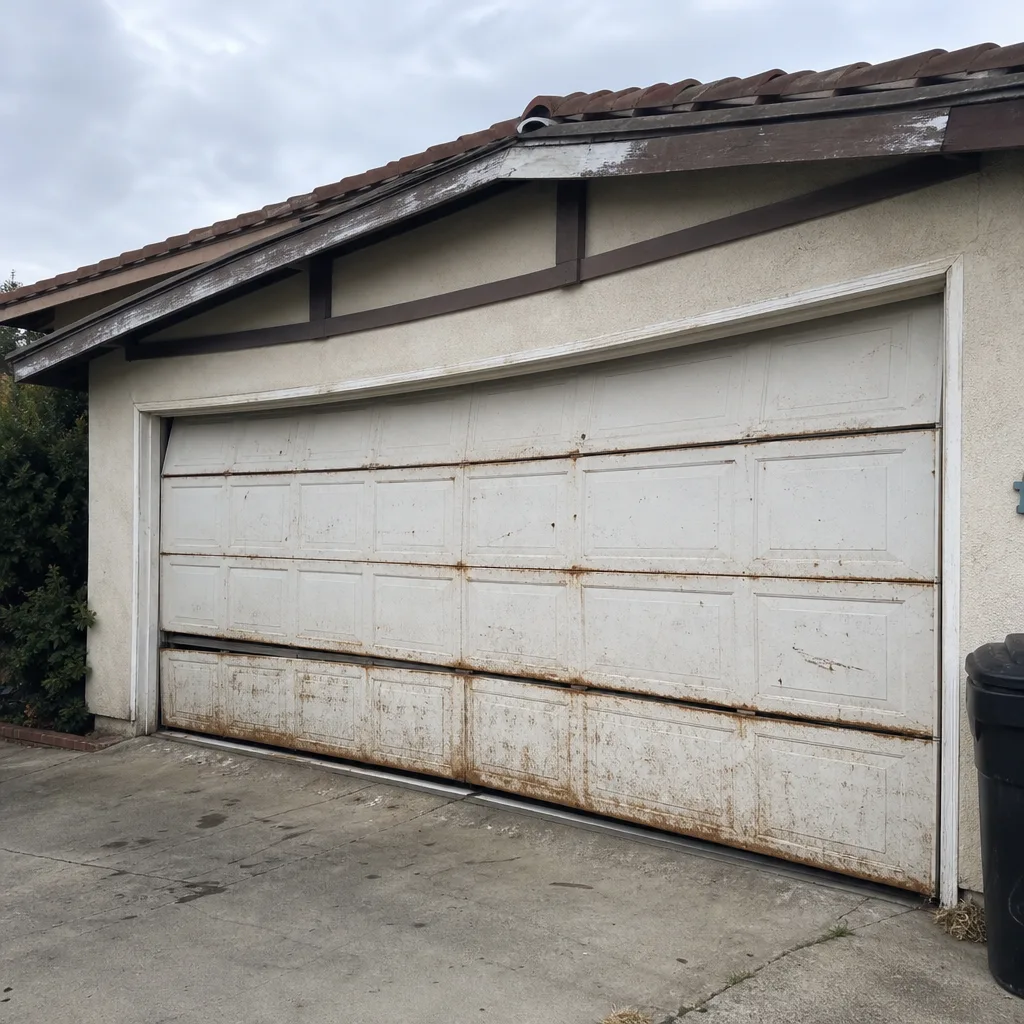 Before
 After
 Before
 After